In all but the warmest of locations, tomatoes should be started indoors from seed. Even in warm and tropical locations, growers often opt to start tomato plants indoors because they have better control over the timing, and they need to work around the months of intense high heat, much in the same way that northern growers have to work around cold months.
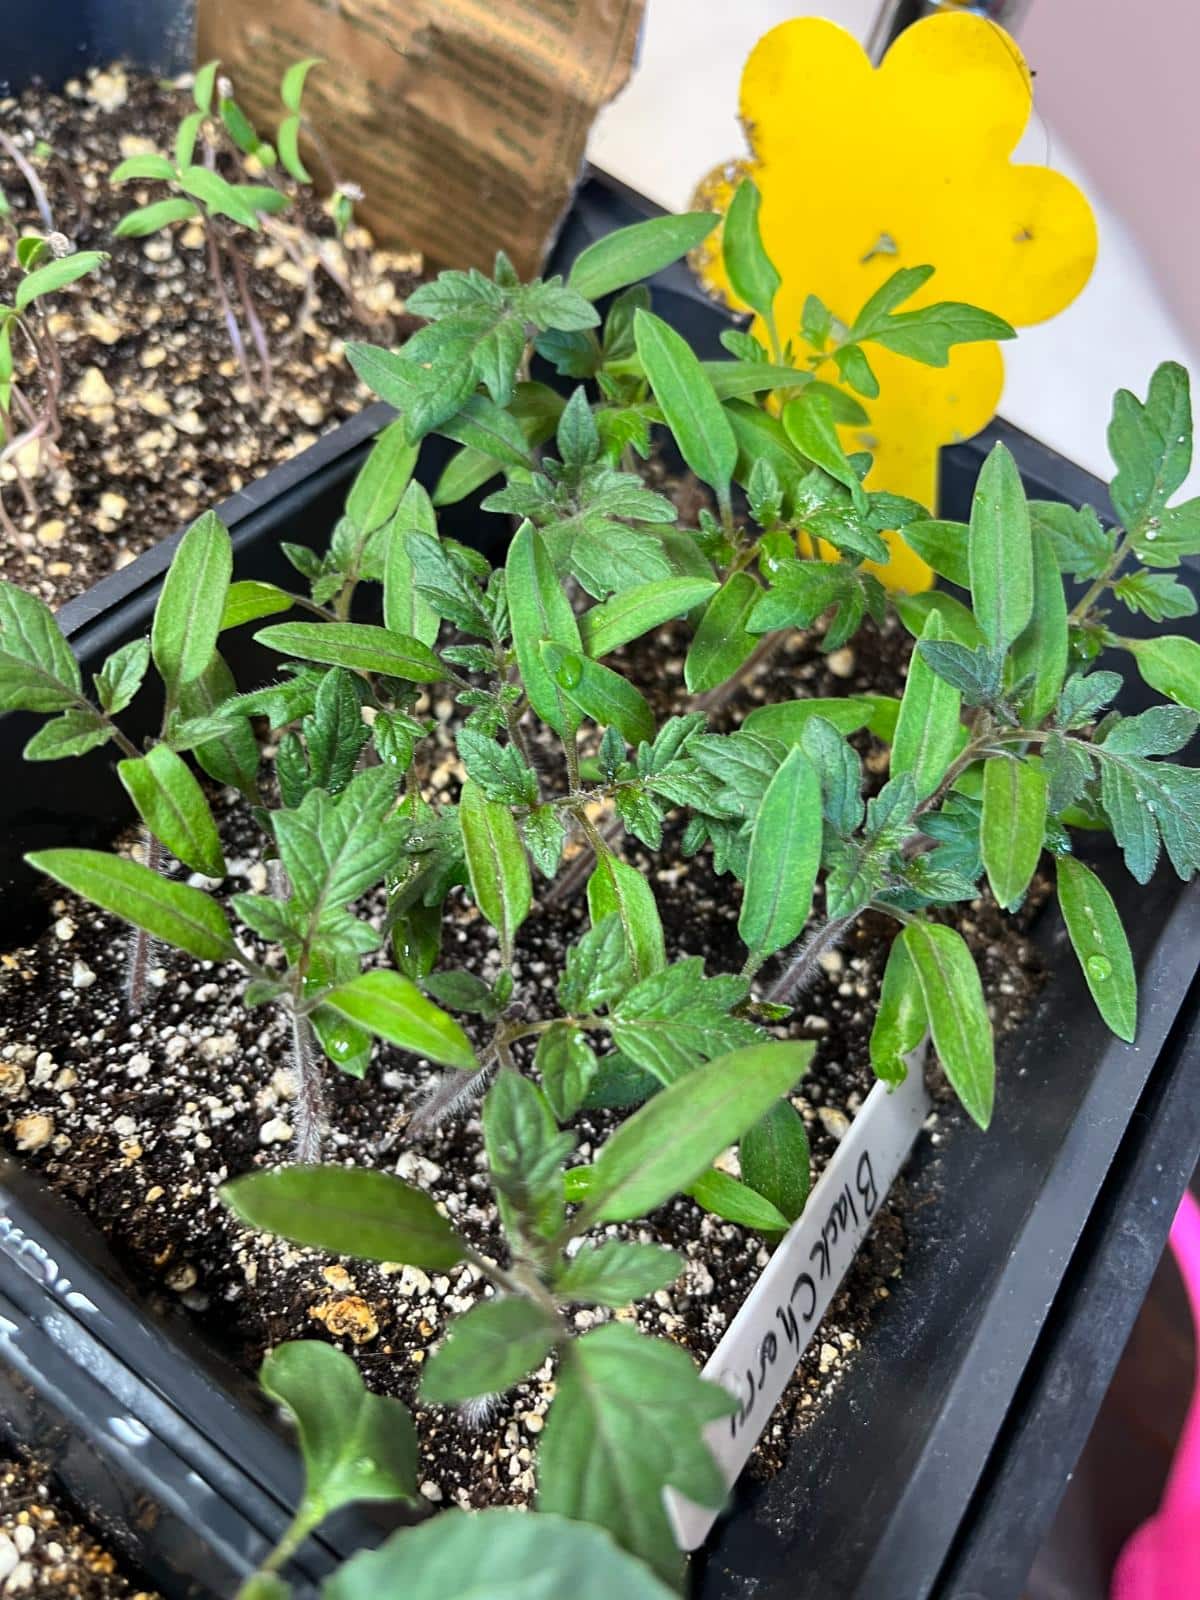
Tomatoes grow readily from seed indoors. Some people do experience problems, but these are easily remedied if you use a proven method of seed starting and provide the essentials tomatoes need for a good, strong start.
Jump to:
Why Start Tomatoes from Seed
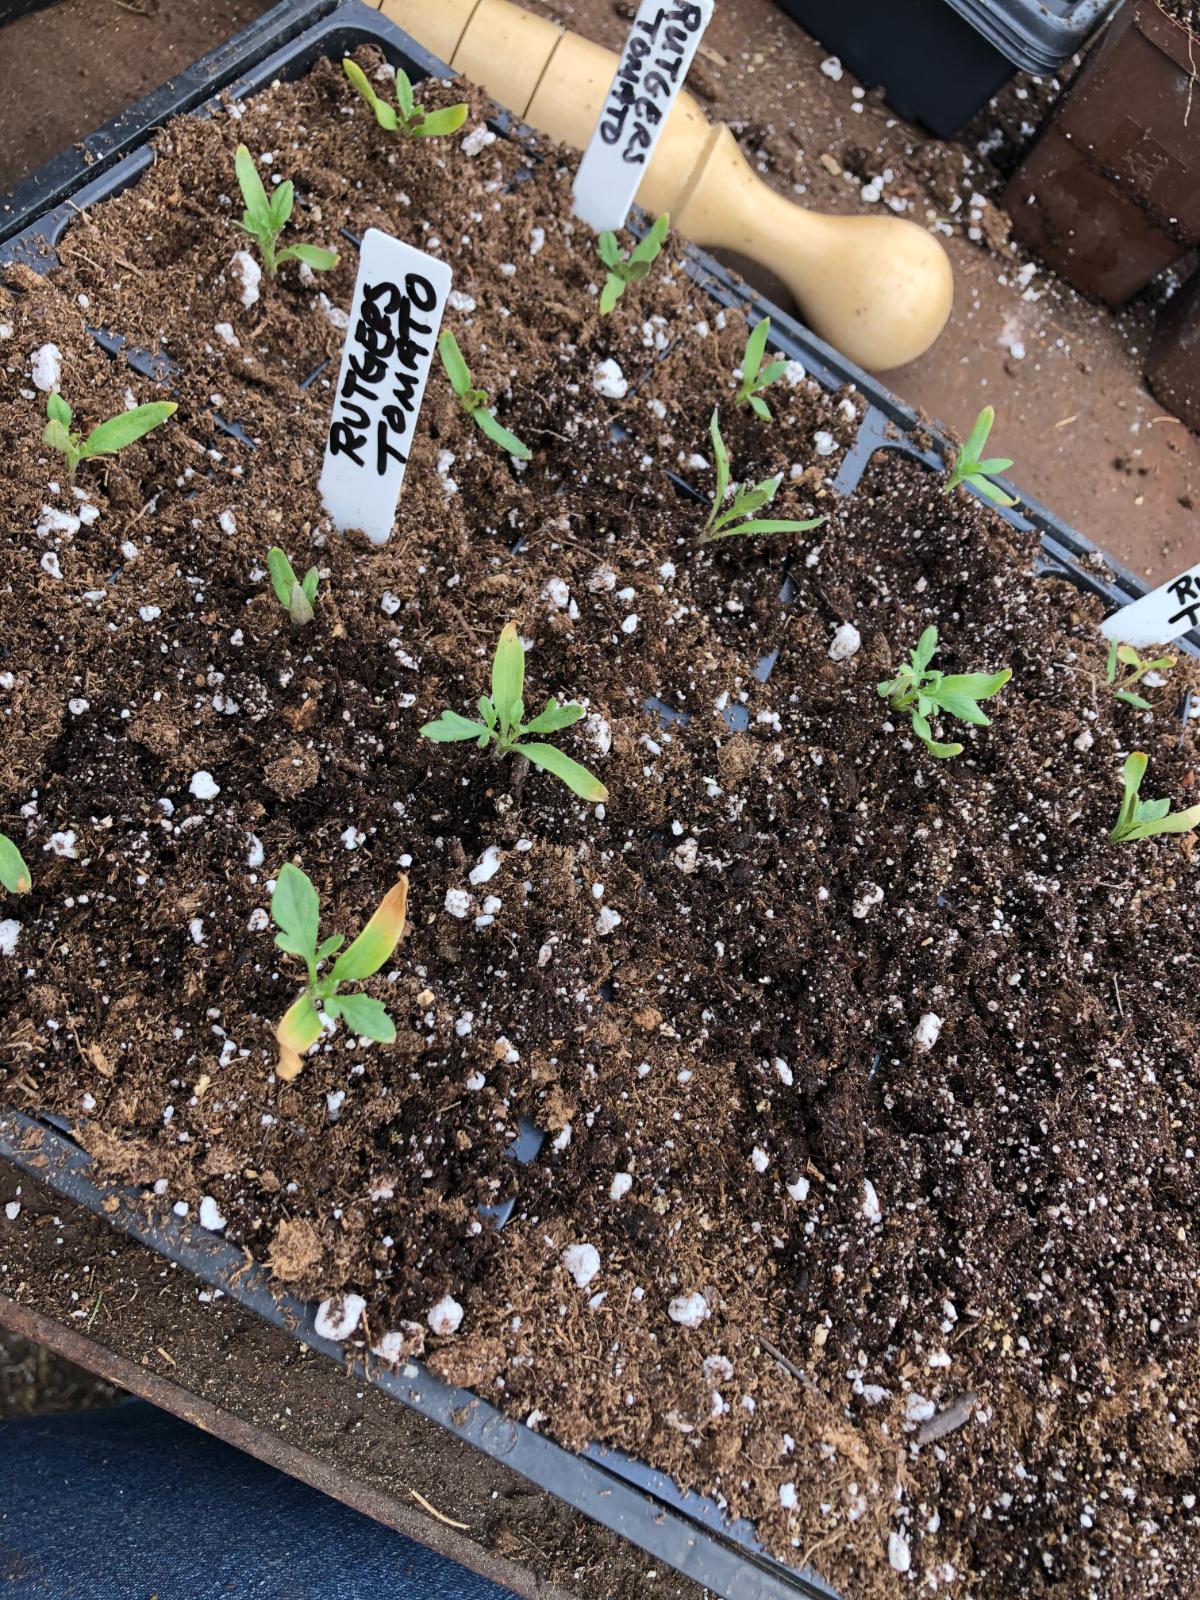
The main reason to start tomatoes indoors is to extend the season and gain enough time to get the plants to mature size and harvest. Tomatoes are native to Mexico, Central, and South America. But they are grown all over the world.
In many of the places they are grown, the season is not naturally long enough to germinate seeds and grow them to ripe harvest size. By starting tomatoes indoors, we can gain months of growing time. The six to eight+ weeks that tomatoes are grown inside adds months to the growing season.
There are other reasons to start tomatoes from seed and then transplant the young plants into your tomato garden:
- Starting indoors gives you more control over the planting time
- You can select and plant out only the strongest and most successful transplants
- You won’t waste time on seeds or seedlings that aren’t viable
- Larger plants will be easy to find in the garden
- Plants are easy to tell apart from other emerging seeds and weed seeds, so they don’t get weeded out
- Larger plants will grow faster and outcompete weeds in the early stages
When to Start Tomatoes from Seed
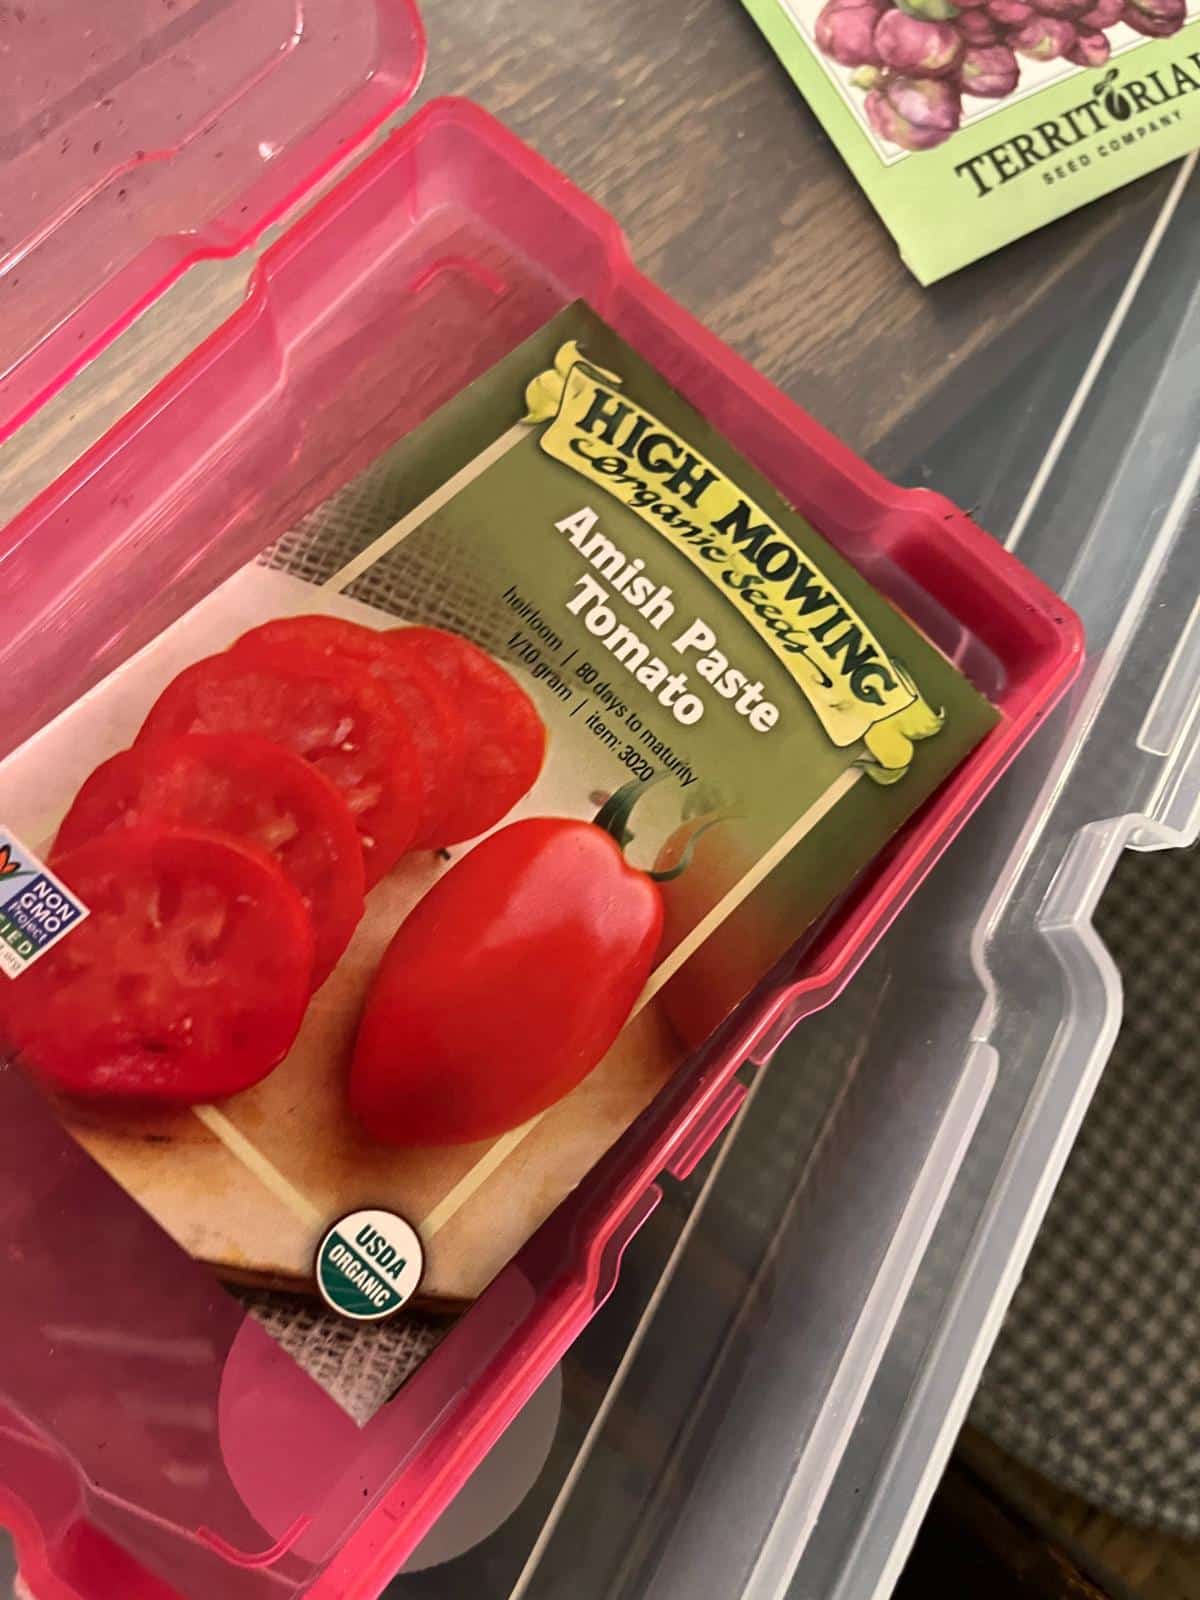
You should start your tomatoes from seed six to eight weeks before you plan to transplant them into the garden.
Tomatoes should not be planted outside until the danger of frost has passed, so this translates into six to eight weeks before your last frost date.
You can plant tomatoes earlier than six to eight weeks before transplanting. You will have larger transplants that will be even stronger, and you may gain a bit of extra time and be able to harvest ripe fruit a little earlier.
Some people find that their tomato transplants are not as large as they’d like by planting only six weeks ahead of the last frost, so they will plant more in the range of 10 or even 12 weeks before the last frost/transplant date.
Just be aware that if you are starting tomatoes that early, they are likely to outgrow the typical garden cell packs, and you may have to pot them up an additional time into a larger pot before they can be planted outside in the garden (a four-inch pot will usually do it and get you through to transplanting time).
Two Good Methods for Growing Tomatoes from Seed
Growing tomatoes from seed is fun and easy. There are two main methods to choose from, both of which are explained here, step by step.
Starting Tomatoes in Germination Pots
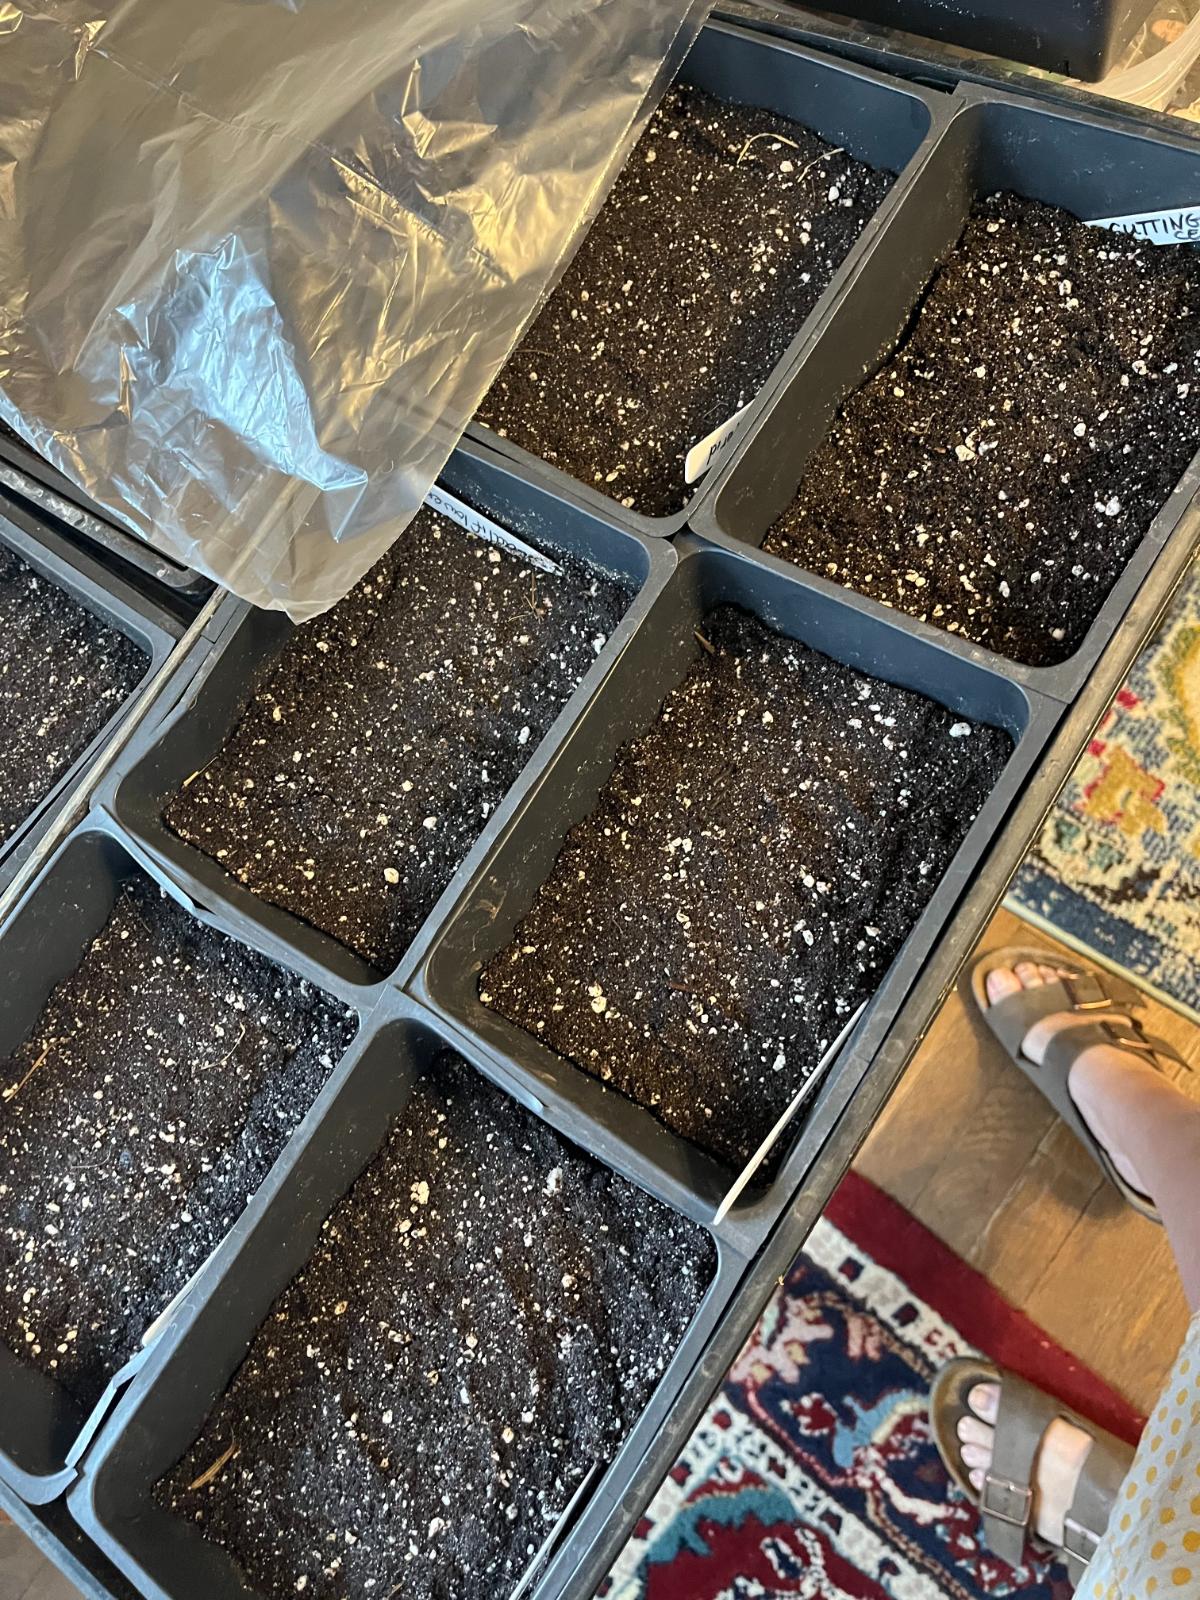
This method works very well and is my personal method of choice. Once I learned this method, it solved so many seed-starting problems for me, and I suddenly became a successful transplant grower, where I had never been before.
In this method, the seeds are started in close rows in crowded germination pots. While this seems counterintuitive, it’s not because for this step, the goal is strong germination. The plants get separated into individual cell packs or pots after they are firmly established and have become young seedlings.
This may seem strange because you have to prick and pull apart the small seedlings when they get potted up, and it may seem like that is impossible to do, but it is not. You’ll be amazed at how easily the small tomato plants untangle themselves for up-potting.
How to Start Tomatoes in Germination Pots, Step by Step:
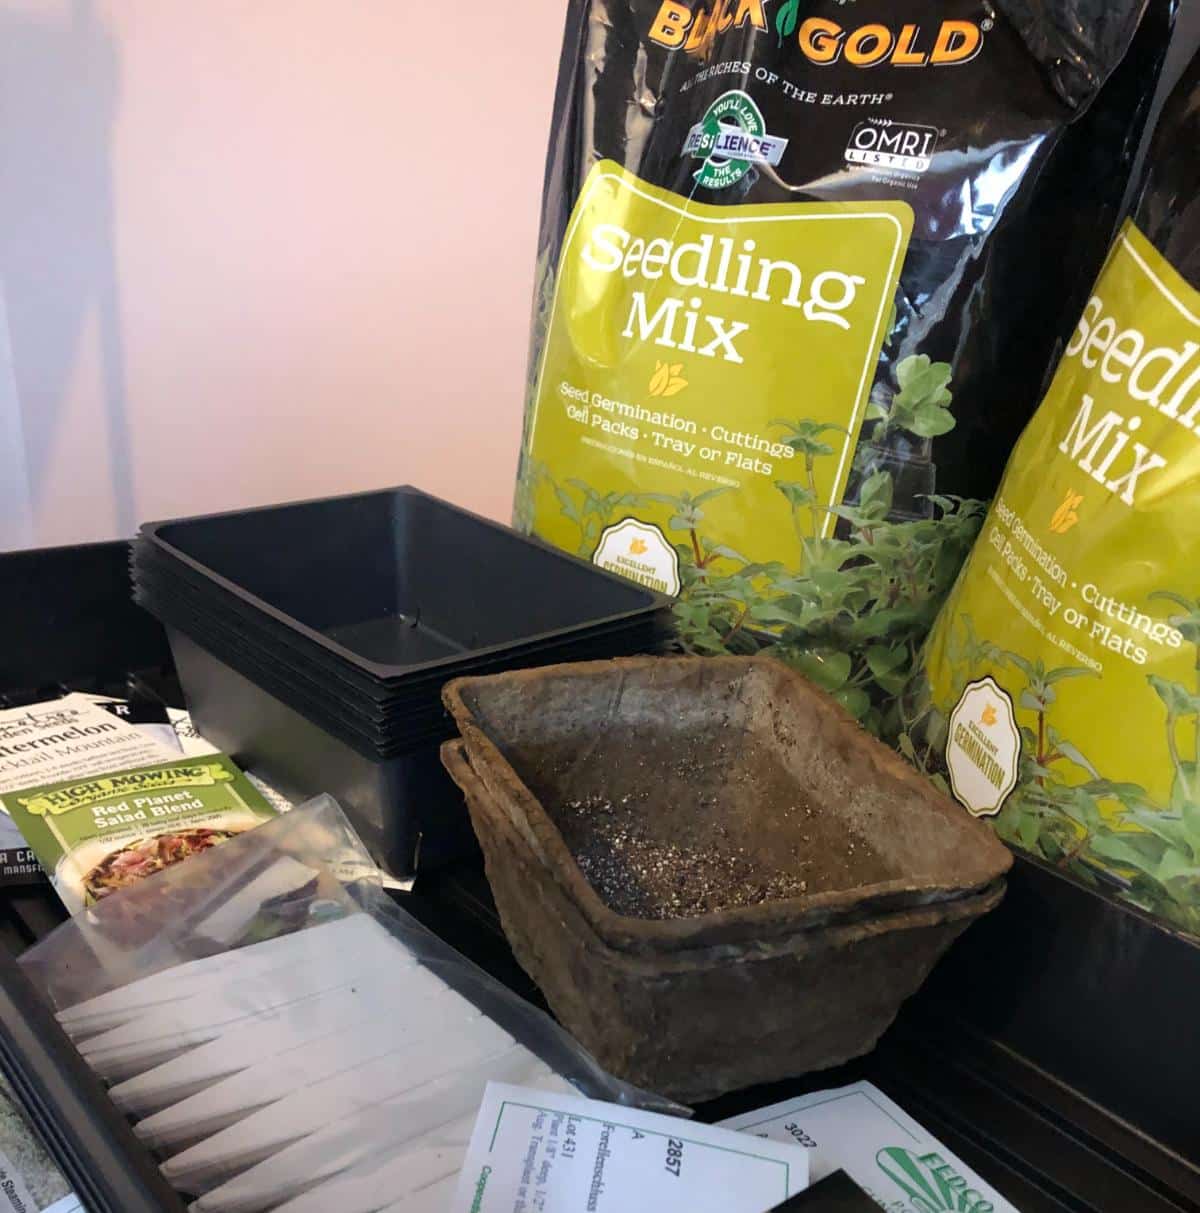
You will need:
- Shallow single-cell pots for germination. Three by four-inch rectangular cells three inches deep work well. You can also use up-cycled containers like the plastic containers berries come in (the slots in the bottom are ideal drainage holes!)
- Quality seed starting medium (aka seedling or seed starting soil). This is different from potting soil. It is finer and does not have large chunks that will block seeds from sprouting. It does not have fertilizer, but seeds don’t need fertilizer at this point. They’ll get that when the seeds are potted up into potting soil later.
- Tomato seeds. (Plant one variety per pot if you are planting more than one variety of tomato)
- Water
- Solid planting tray or container for bottom watering
Instructions:
1. Premoisten the seedling soil. It should be damp/moist, and crumbly, but not wet. You will water it again at the end, but this “primes” the soil and helps it uptake more water at the end.
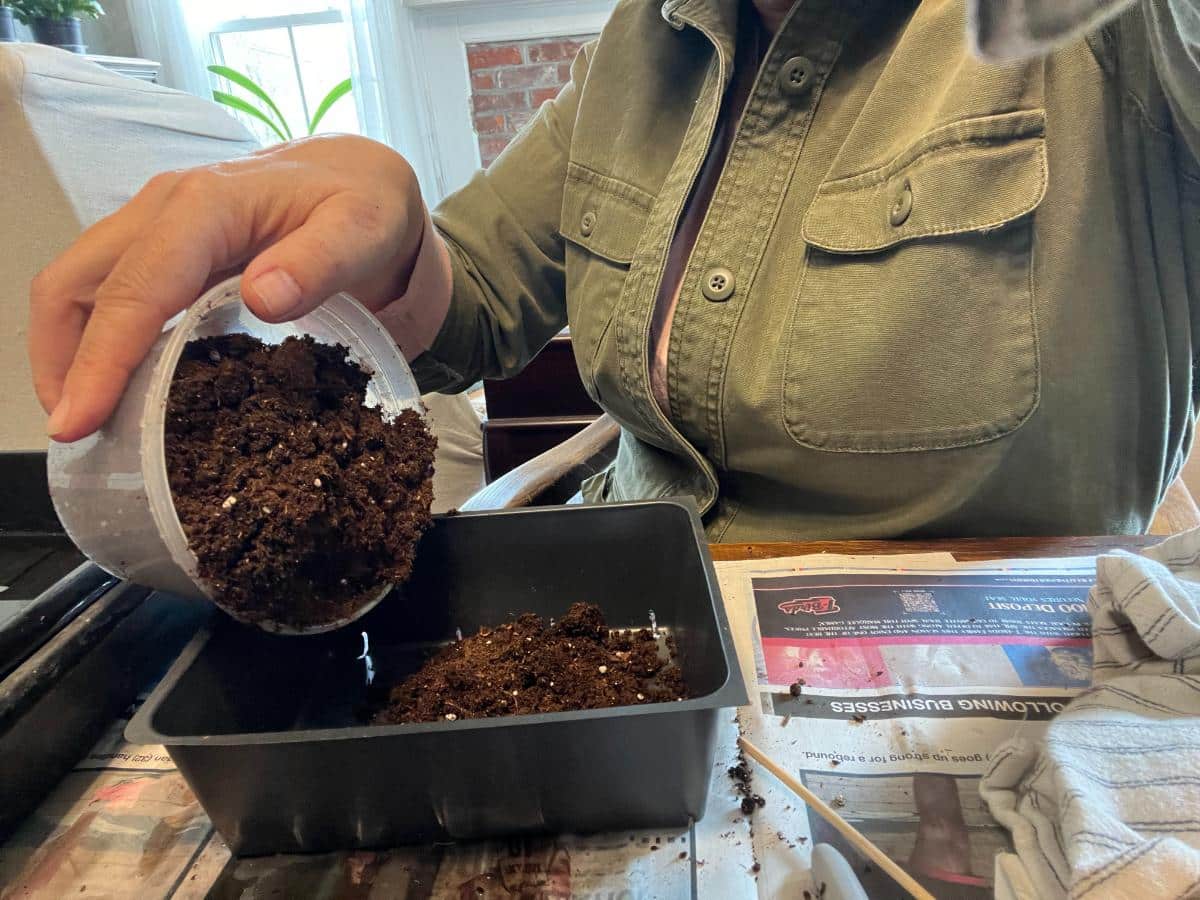
2. Fill a single-cell soil container (or upcycled plastic berry or deli container) with soil to between ⅔ and ¾ full with seedling soil.
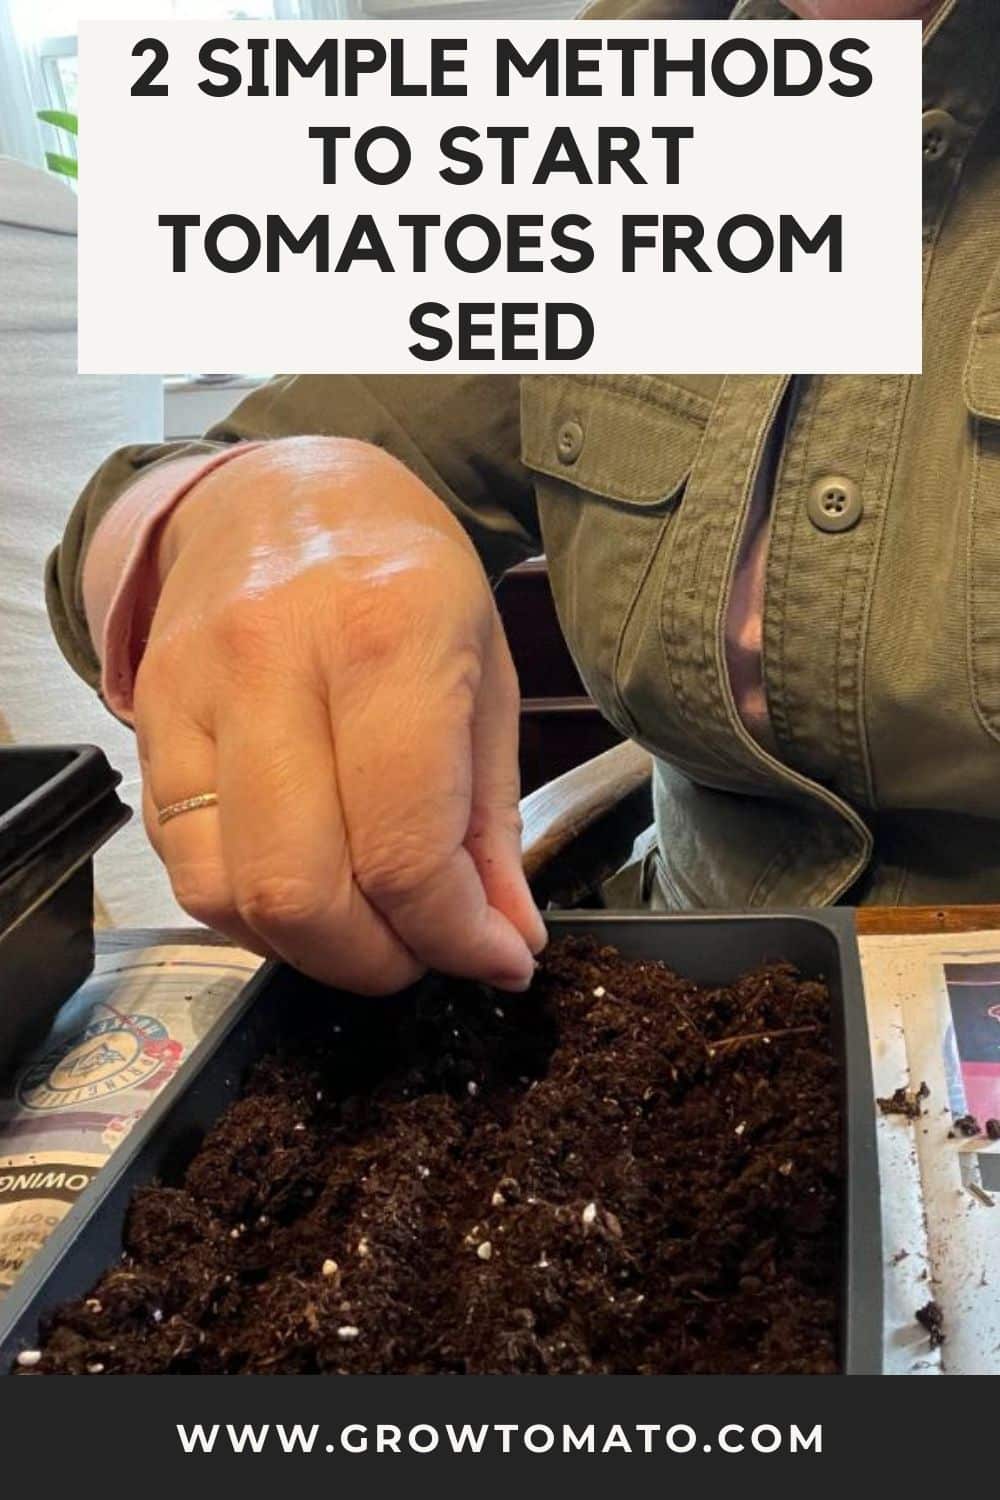
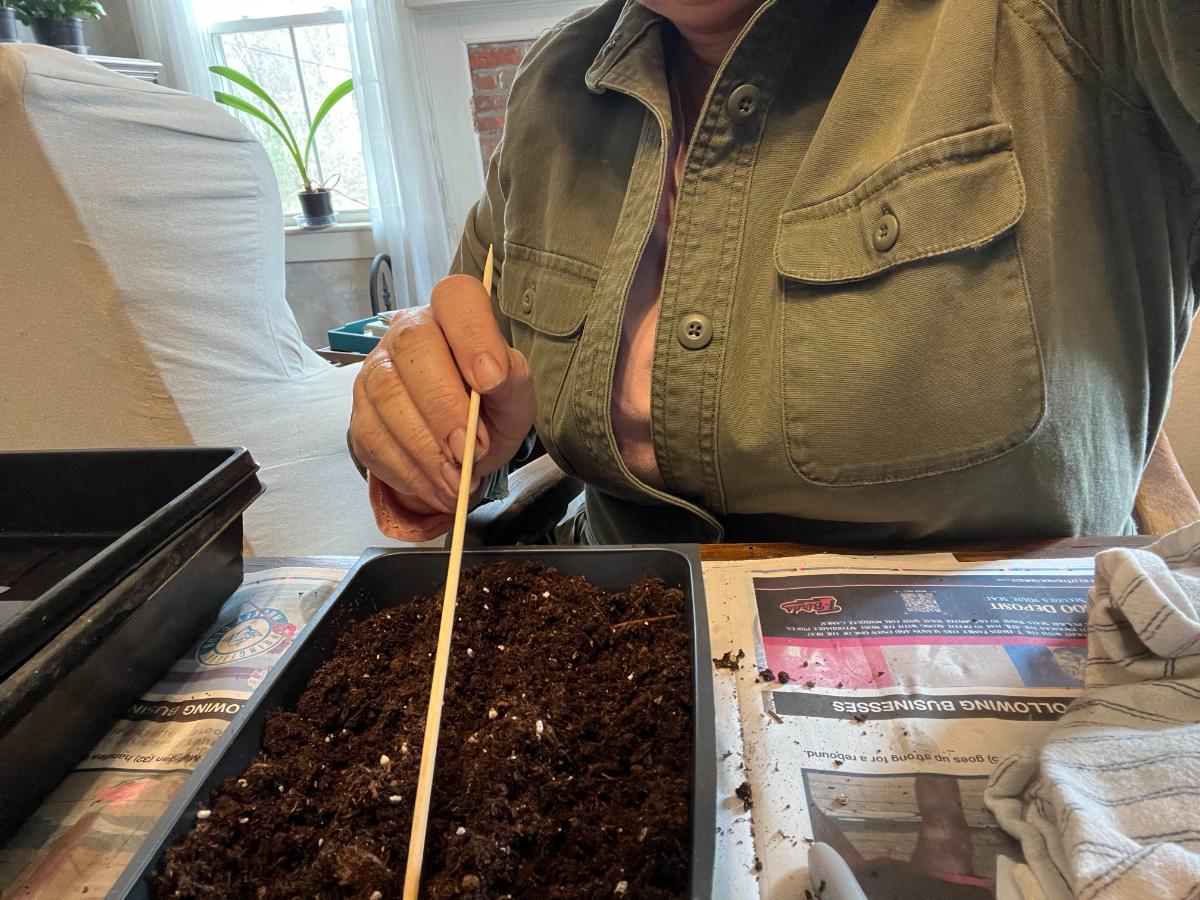
3. Use a skewer, chopstick, seed dibber, pencil, or your finger and make 3 or 4 furrows (lines) in the soil. Lines should be set to the proper planting depth according to seed packet instructions. For tomatoes, this is ¼ inch deep.
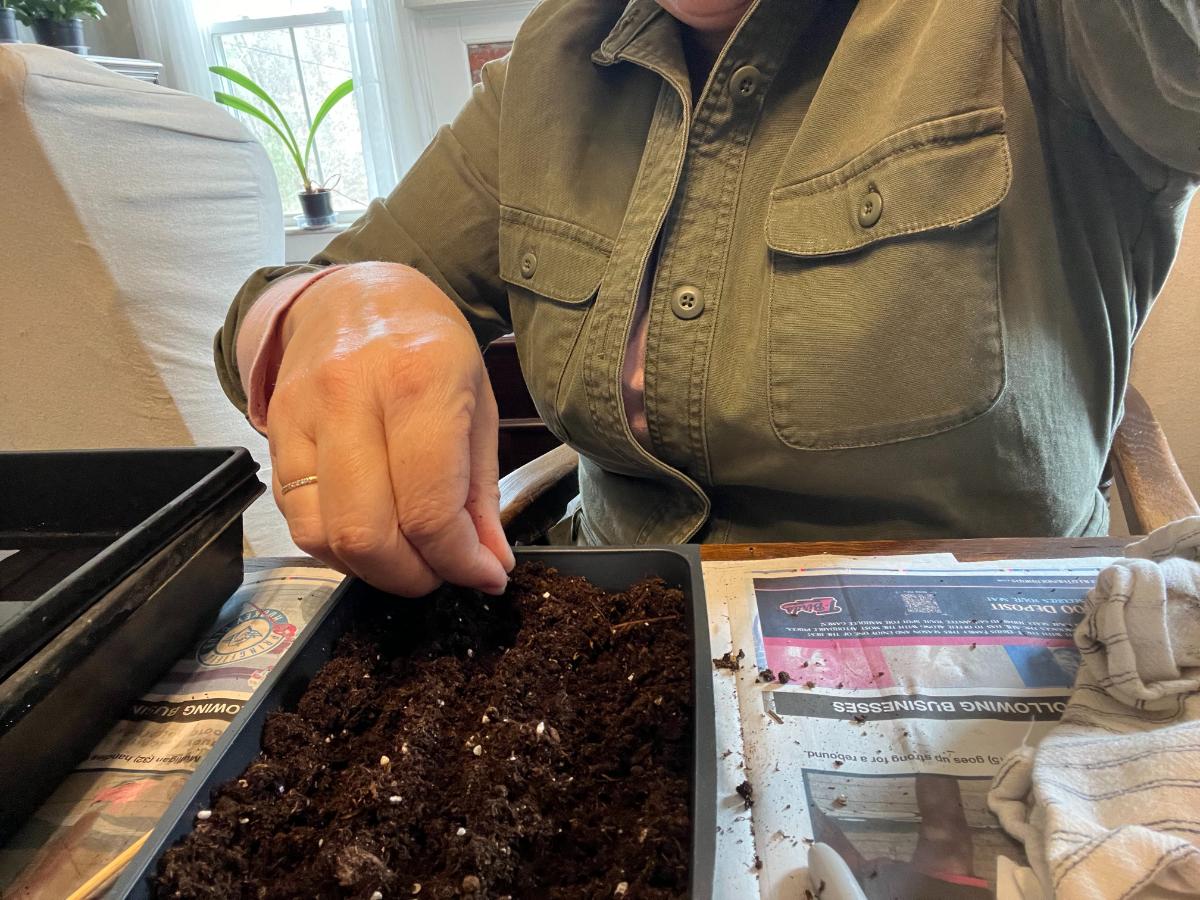
4. Drop seeds into the lines. Set seeds between ¼ and ½ inch apart. You don’t need to worry about them being too close to grow later on because the seeds will be potted up when they get bigger.
5. Cover the seed over with ¼ inch of soil. Tamp lightly with your fingers to ensure good seed-to-soil and moisture contact.
6. Water the pot until the soil is uniformly darkened with water. Do not overwater.
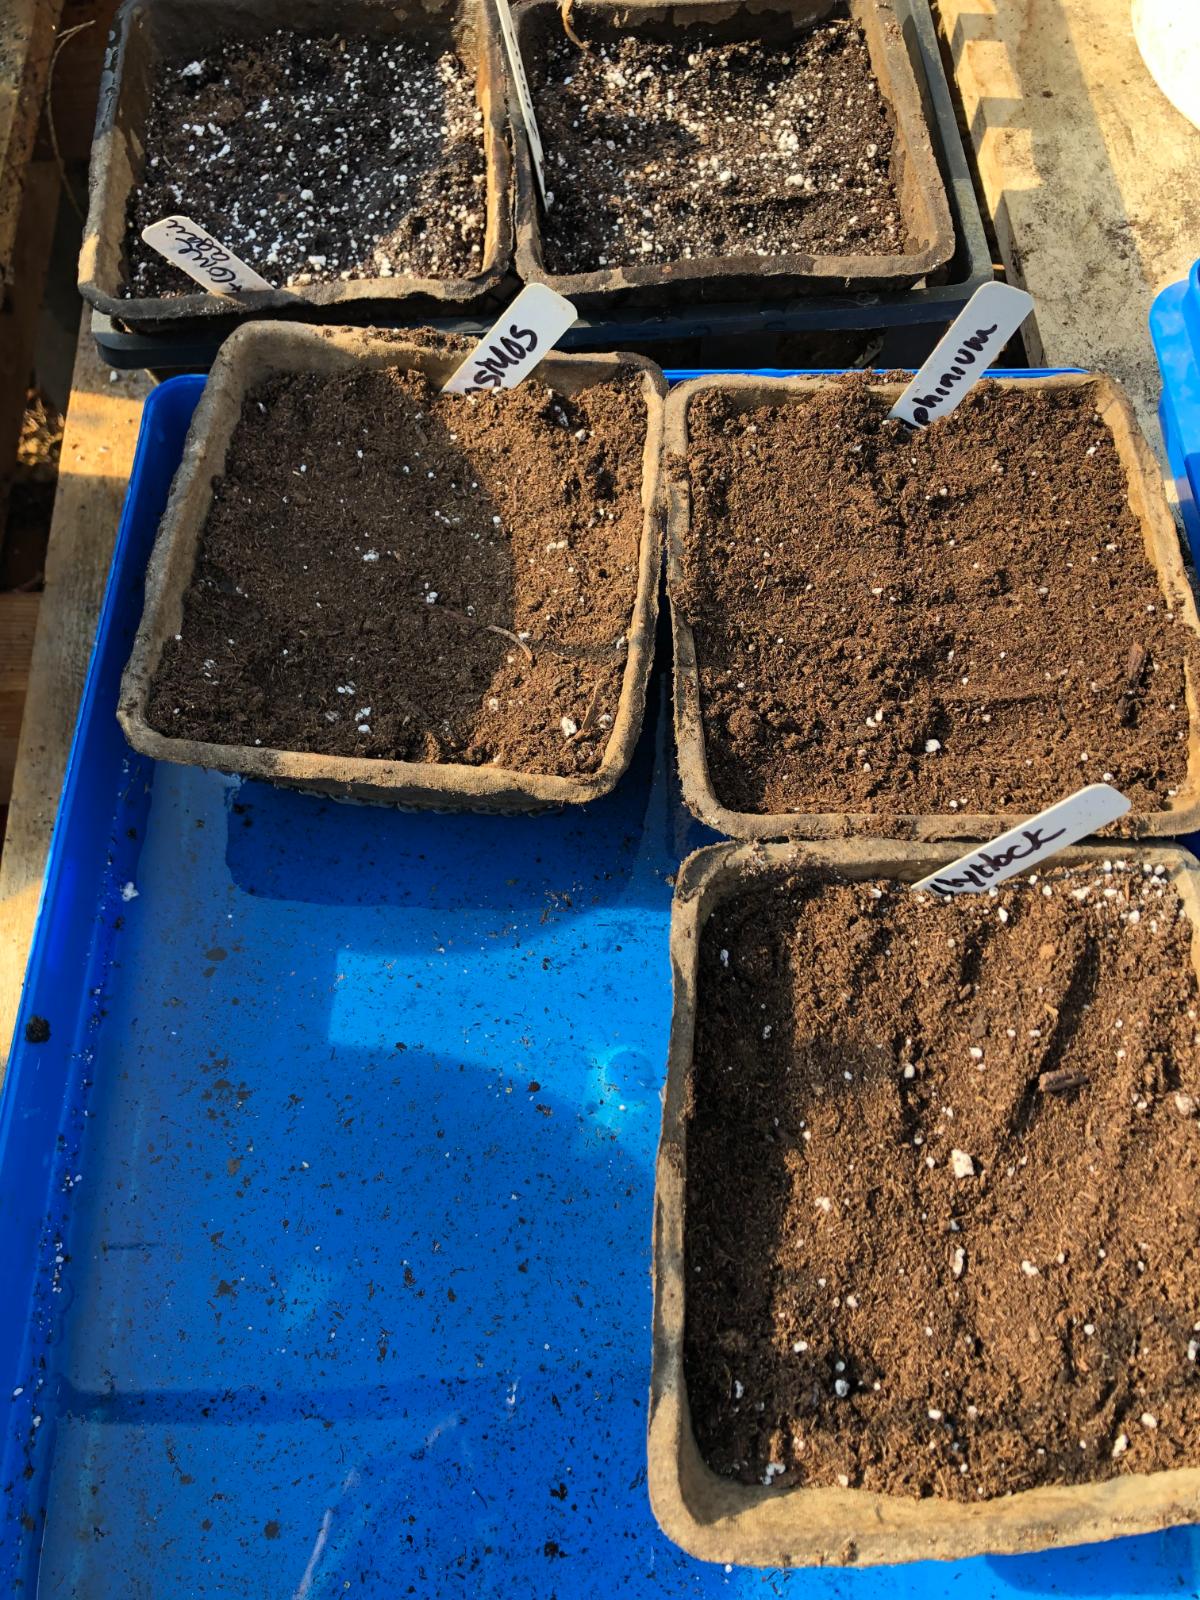
7. Bottom-watering is best. Set the container in a tray or pan of water and let the soil absorb water from the bottom up. When you see the top of the soil is all uniform in color, remove the container and move it into an empty planting tray (this will keep mess to a minimum and support the pots).
8. Put the tray of planted pots in a warm area to germinate. They do not need light at this point. To help preserve moisture, you can put a section of cardboard over the tops of the container(s) or you can cover them with plastic wrap.
9. A heat mat (such as those designed for starting seedlings and warming soil) will help speed germination and will make sure the soil is warm enough for timely germination of tomato seeds.
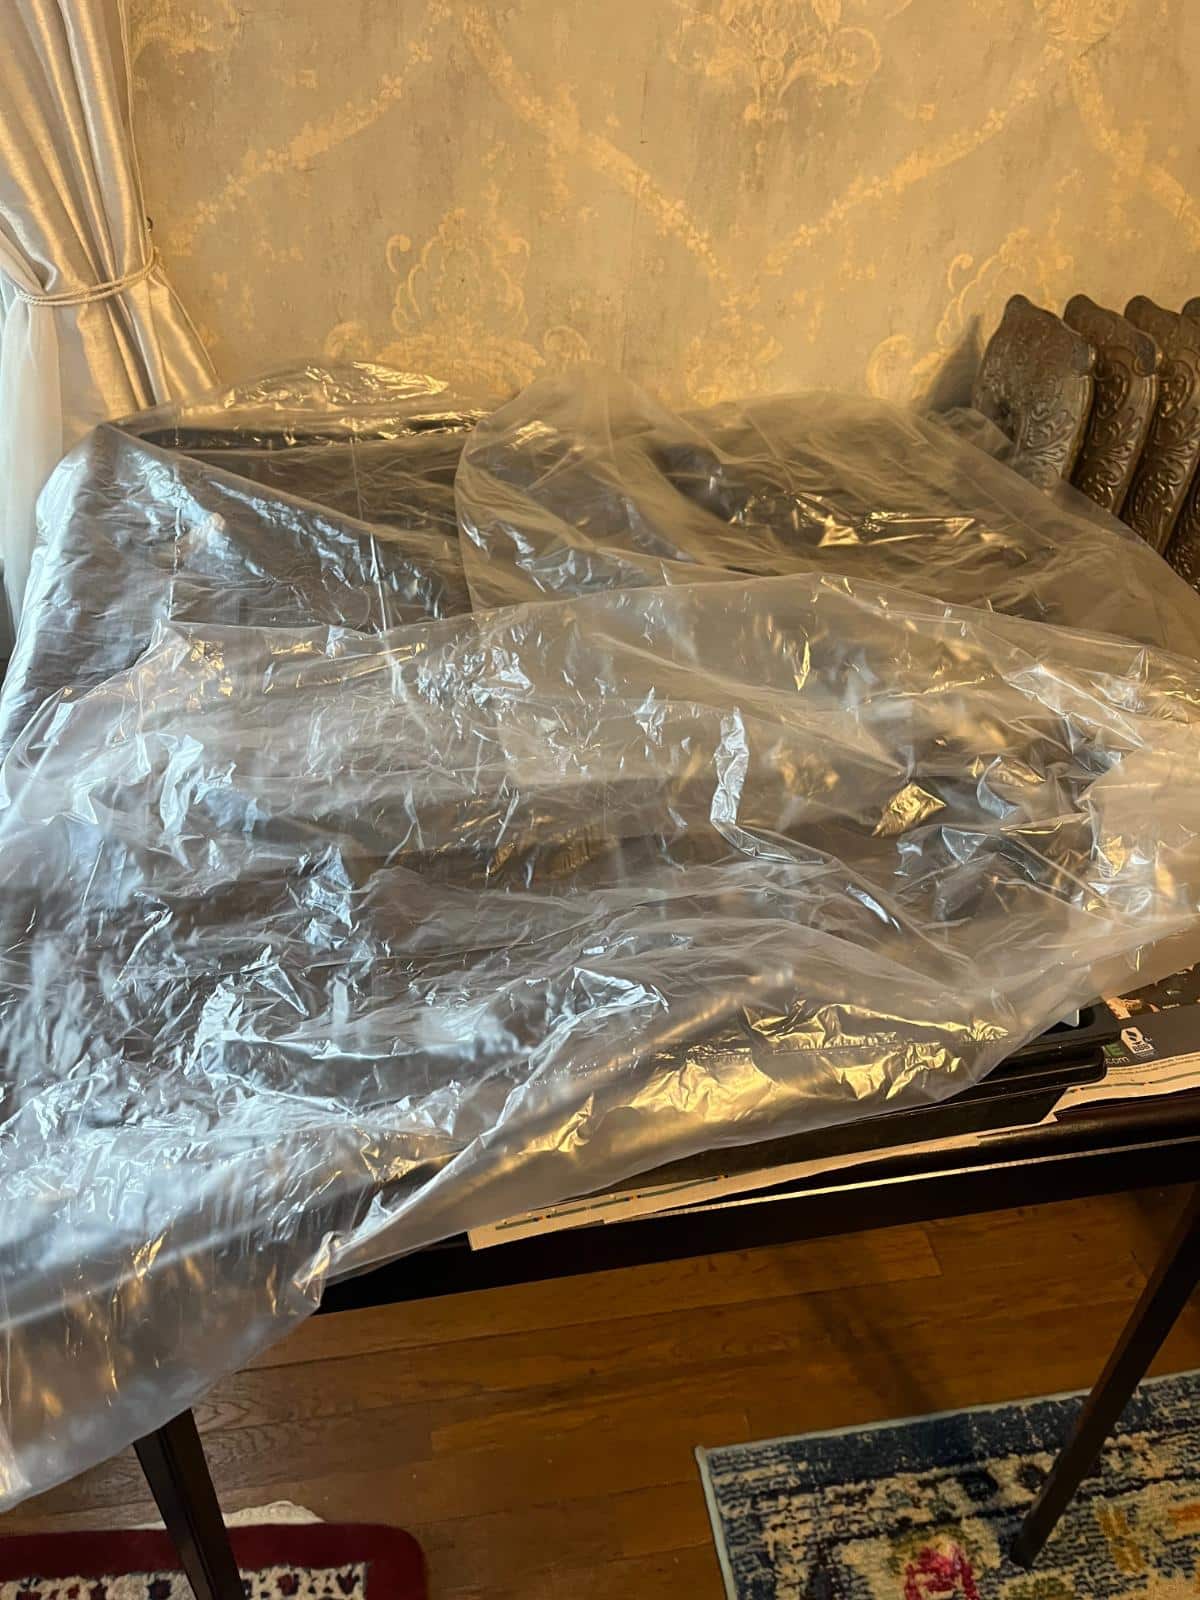
10. Check the containers daily for moisture and signs of germination. When the top of the soil starts to dry out, water again. Bottom watering is best and is the best way to prevent overwatering, underwatering, and fungal disease. Keep in mind that at this point, the seeds and seedling roots are very close to the top, so don’t let the tops of the containers dry out too much.
11. As soon as several seeds have sprouted, uncover the containers and move them into the light. It is best to use a plant light setup indoors.
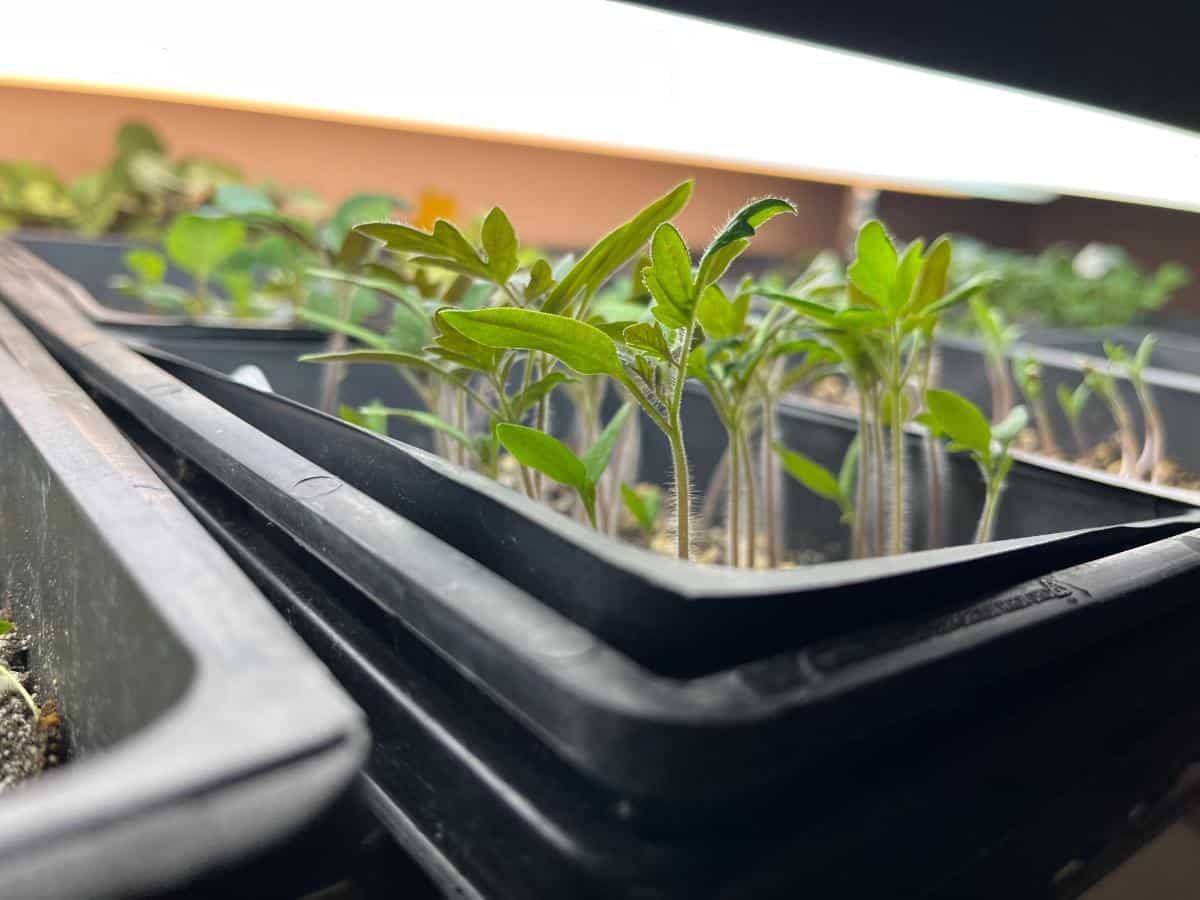
12. Continue to provide light for 16 hours per day and monitor water and moisture daily, bottom watering when soil begins to dry out.
13. Pot up the tomato seedlings when they have two sets of true leaves.
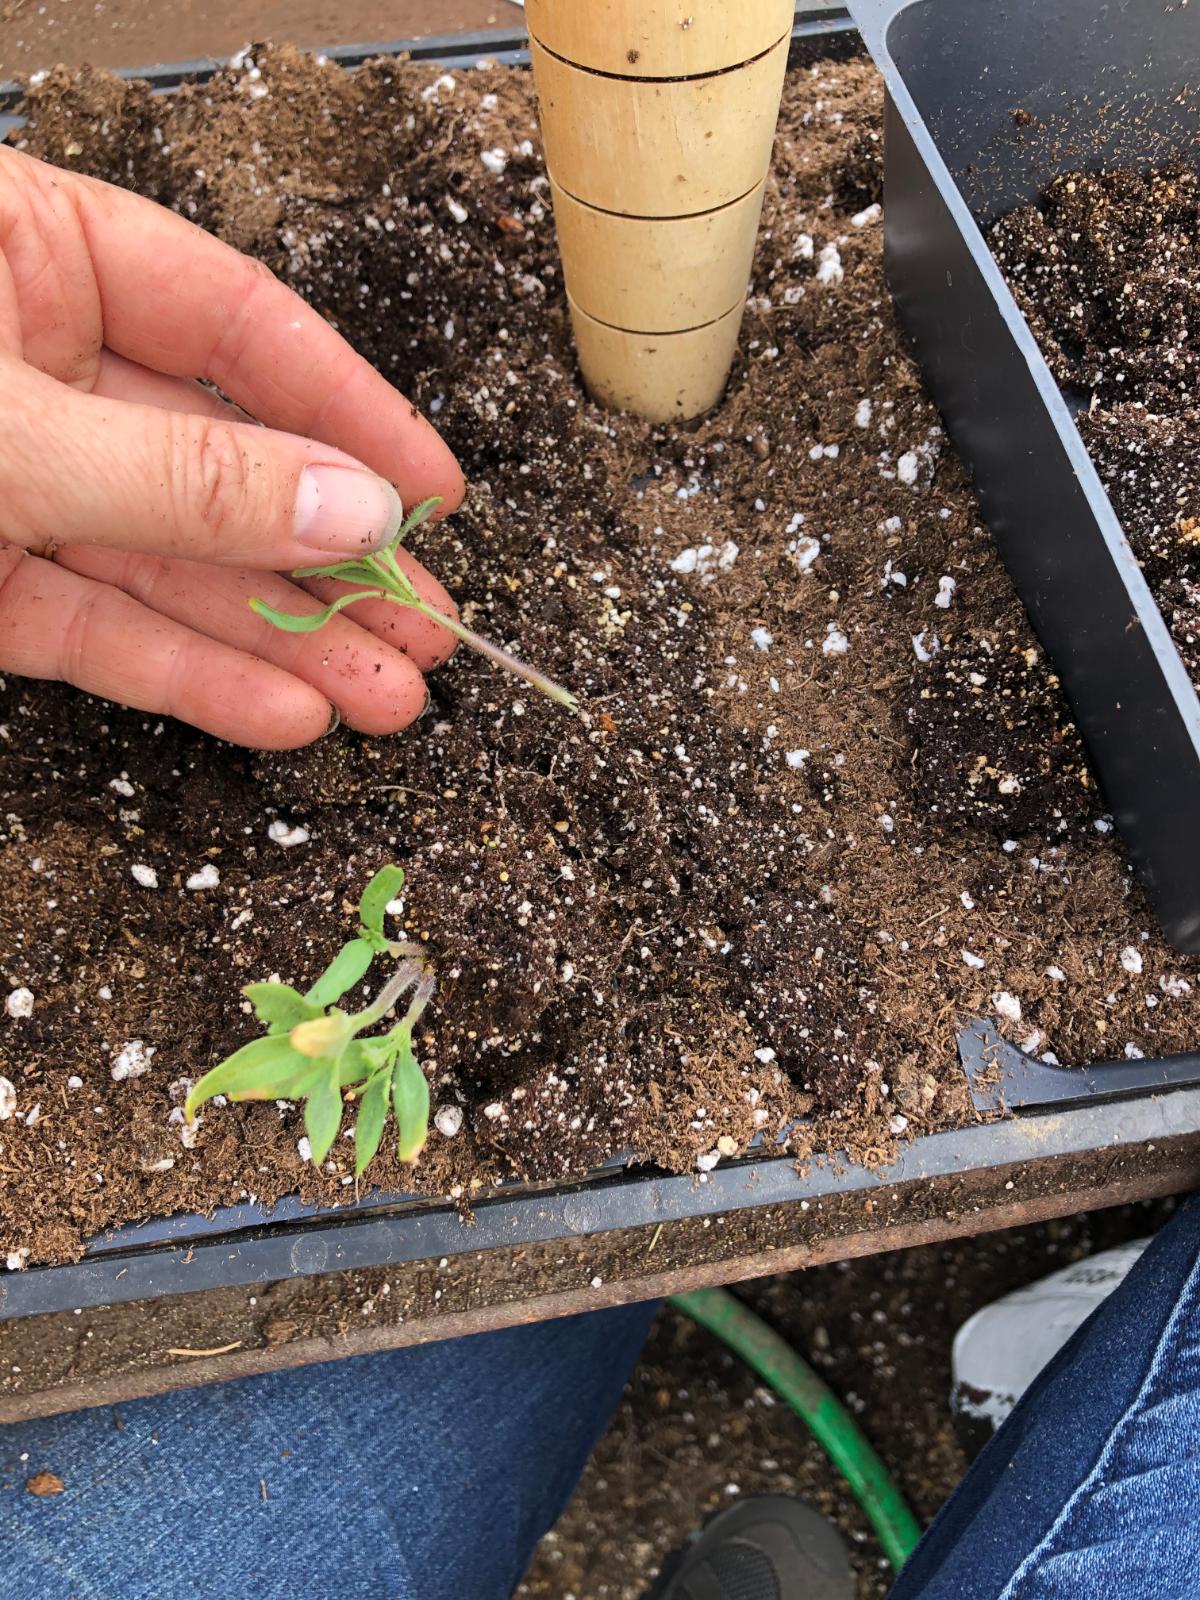
14. Continue to grow the seedlings under lights until it is time to transplant them into the garden. Harden off the seedlings before moving them outdoors.
Advantages and disadvantages of the Intensive Germination Pot method
- You won’t waste time or materials on seeds that are not viable
- Germination only requires a small amount of seedling soil
- Germination saves space – you only need room for a 3x4 pot, and you can germinate at least 20 to 25 seeds per pot
- You only need a fraction of the space for germination pots at the beginning when pots are on germination mats (or maybe a germination chamber) where space is limited. This saves a great deal of money on expensive germination supplies.
- Seedlings will have to be pricked out and potted up
- Pricking out and potting up gives you an opportunity to correct early issues with seedlings and correct problems like legginess
- You will have a reliable number of plants after potting up because you will only pot up seeds that were viable and that actually grew into seedlings
- You can choose the best and strongest seedlings to pot up
- Potted-up plants have a better rate of survival and are stronger overall than individually planted seeds, which may or may not germinate and thrive
- Potting up is easy to do and results in better seedlings overall, with fewer growing issues and a higher rate of success
Individual Pots or Cell Packs
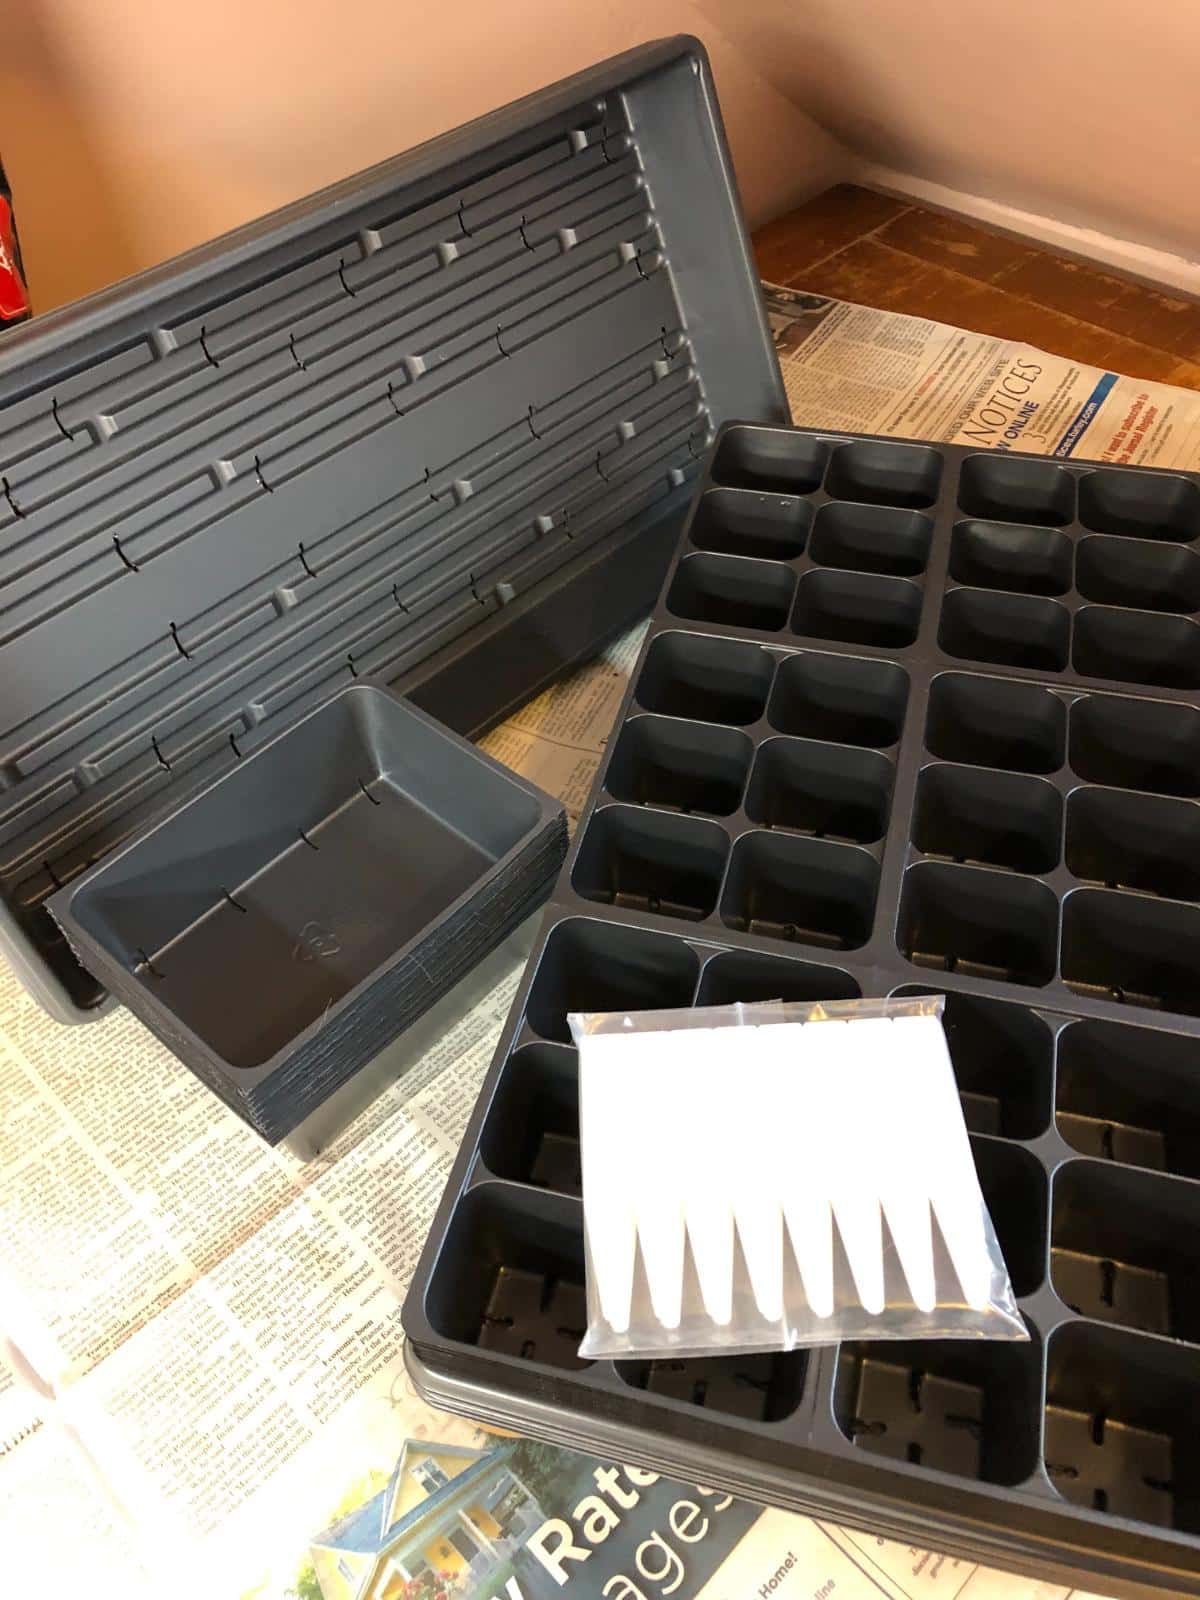
This method plants the tomato seeds directly into potting soil in the pots or cell packs that the transplants will grow in. It saves some time, but it does result in usually lower plant success rates overall.
This method relies on overplanting the seed and thinning later on, but you won’t have to up-pot plants; so, if you need a way that saves time and saves future steps, this is the method for you.
Note that you will need to use potting soil and not seedling mix, even though seedling soil (also referred to as seedling medium) is better for seed germination, and potting mix has bigger chunks that can sometimes block sprouting seeds.
The reason you need to start with potting soil is that the plants will live in this soil until they are planted in the garden (or large growing containers) and seed-starting mix does not have enough nutrients in it for the plants to grow.
You will need:
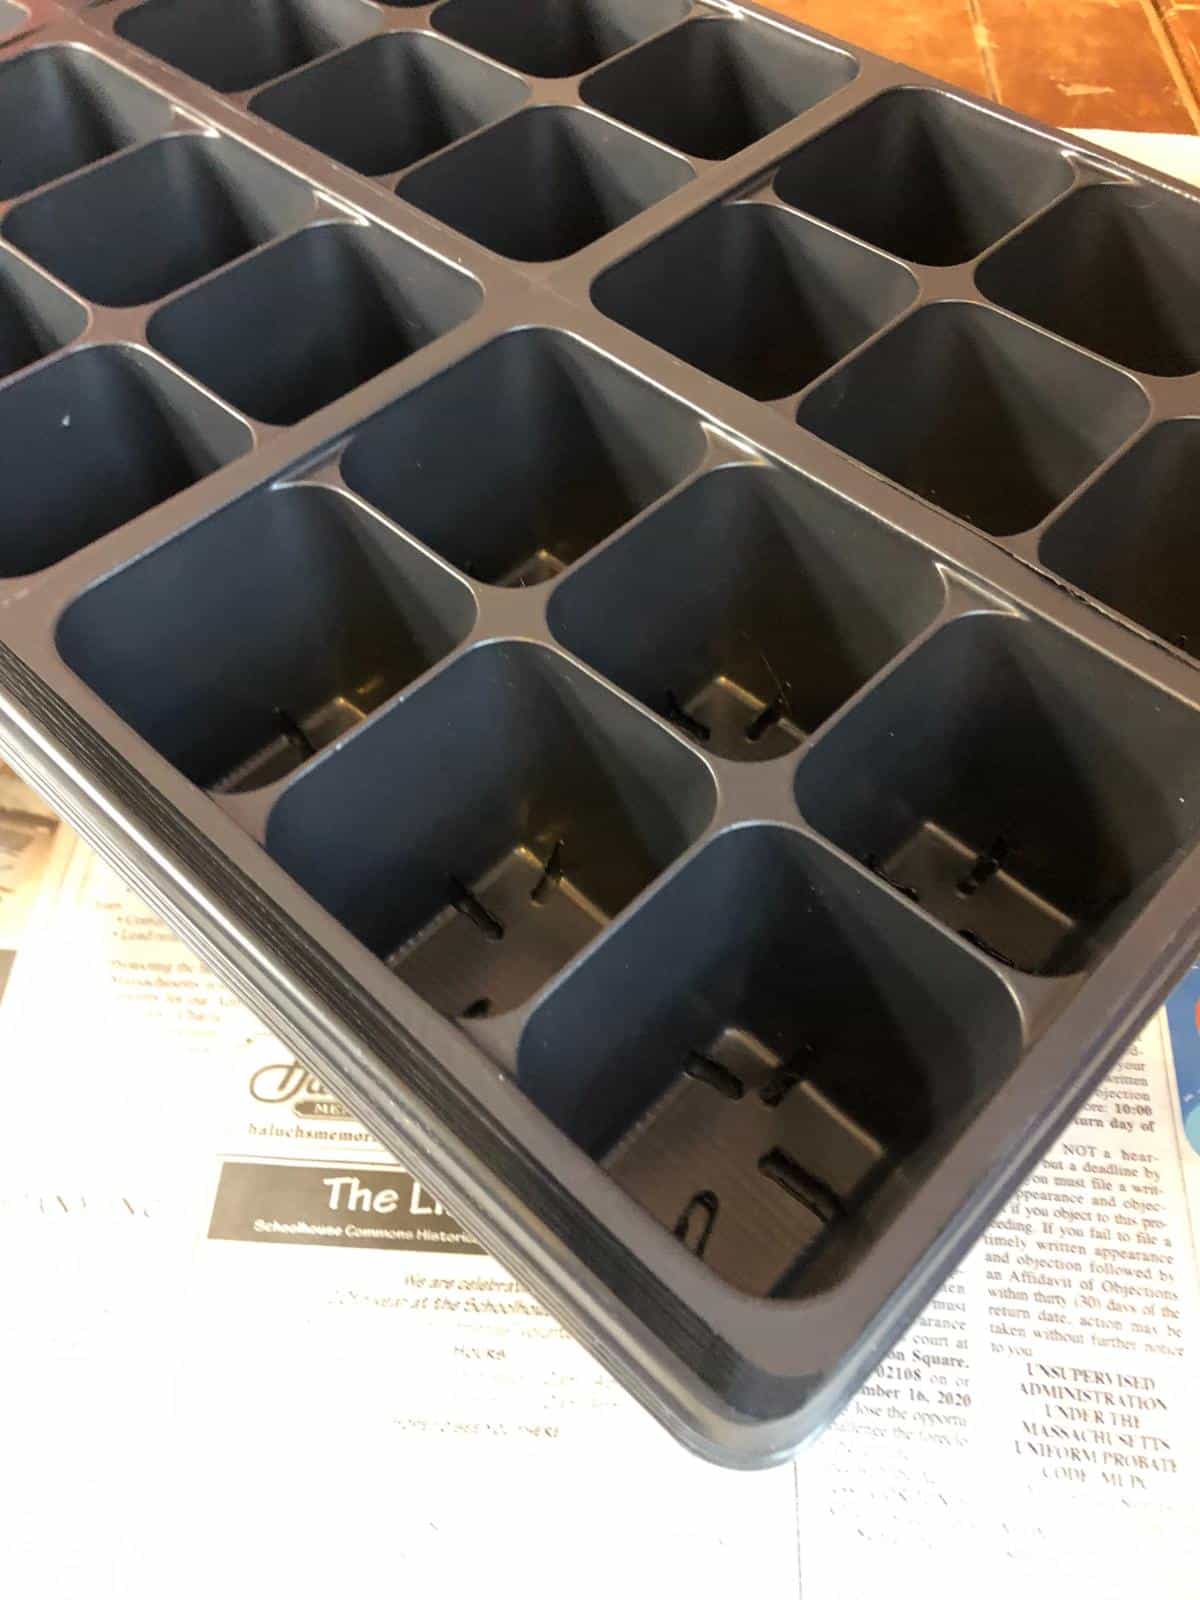
- Cell packs or pots (like the four- or six-pack plant cell packs you buy transplants and annuals in at a nursery or garden center)
- Quality potting soil (preferably one without too many large chunks)
- Tomato seeds
- Water
- Solid planting tray or container for bottom watering
Instructions:
1. Pre-moisten the potting soil.
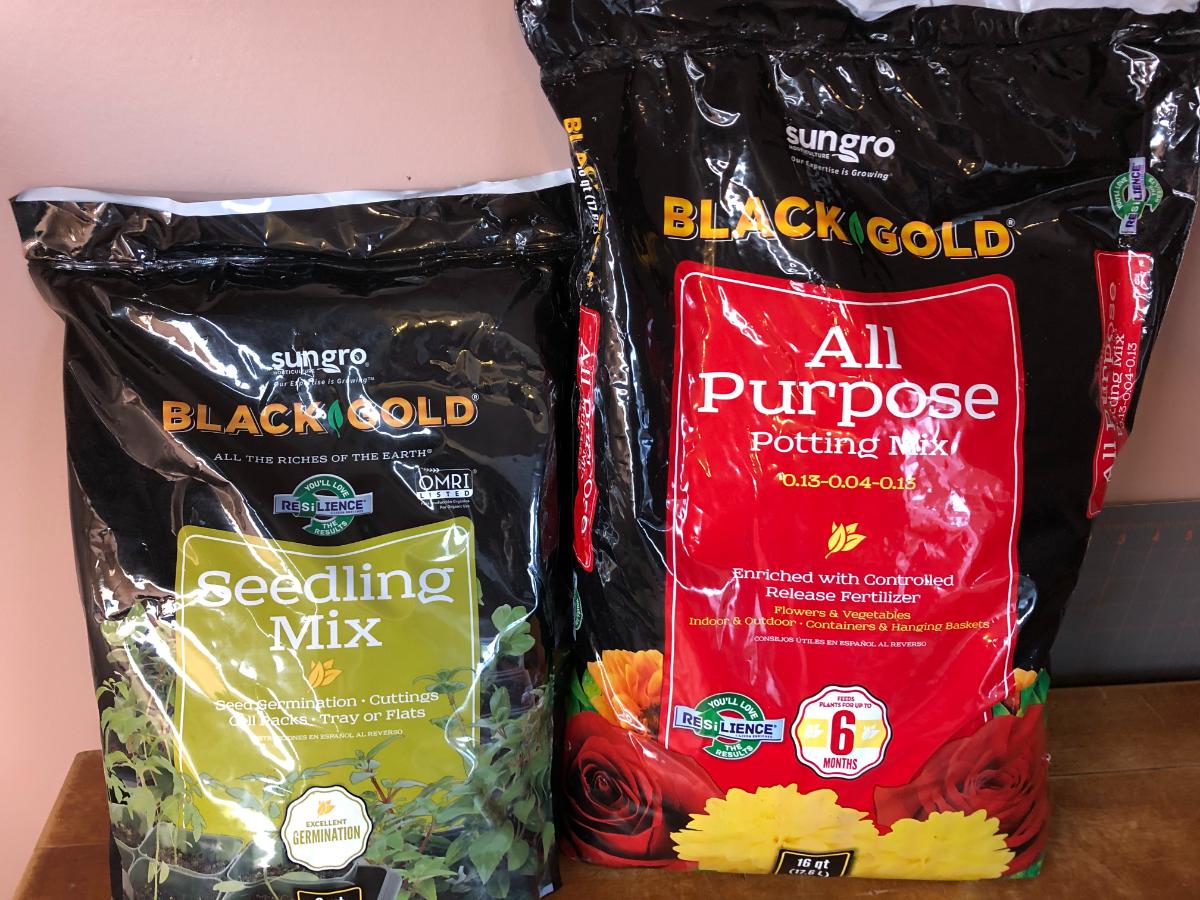
2. Fill cell packs with potting soil or potting mix.
3. Leave a little room at the top of the pots or packs so the soil does not overfill the container and water does not run off or wash out soil later on (⅛ to ¼ inch of space is good).
4. Plant two tomato seeds in each cell or pot. This way, if one does not germinate, hopefully, the other will.
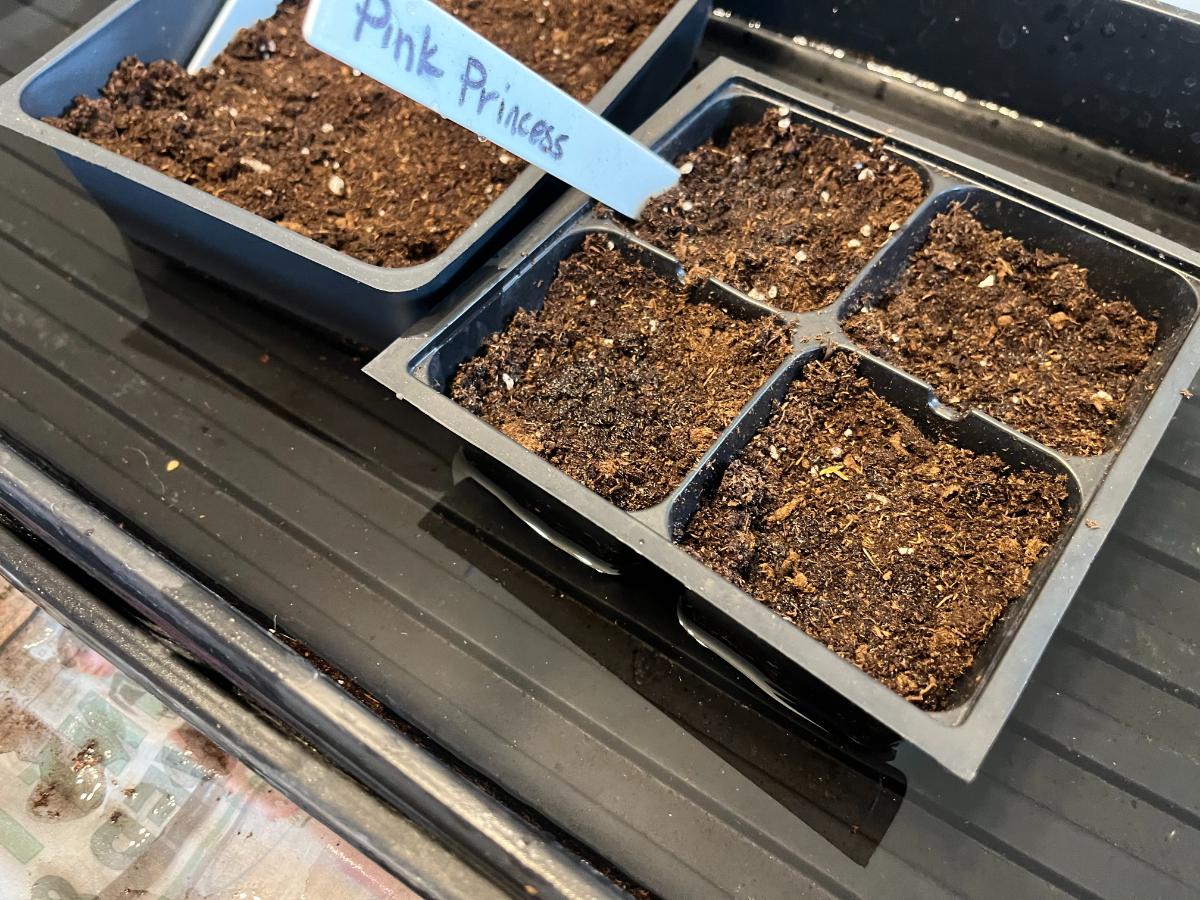
5. Press the seed about ¼ inch into the soil.
6. Cover with soil and tamp down lightly.
7. Bottom-water the packs of planted seeds by setting them in a tray of water. Water until the soil is uniformly dark but not overwatered, as described above.
8. Set the watered plant pack into an empty tray and put it in a warm place for germination.
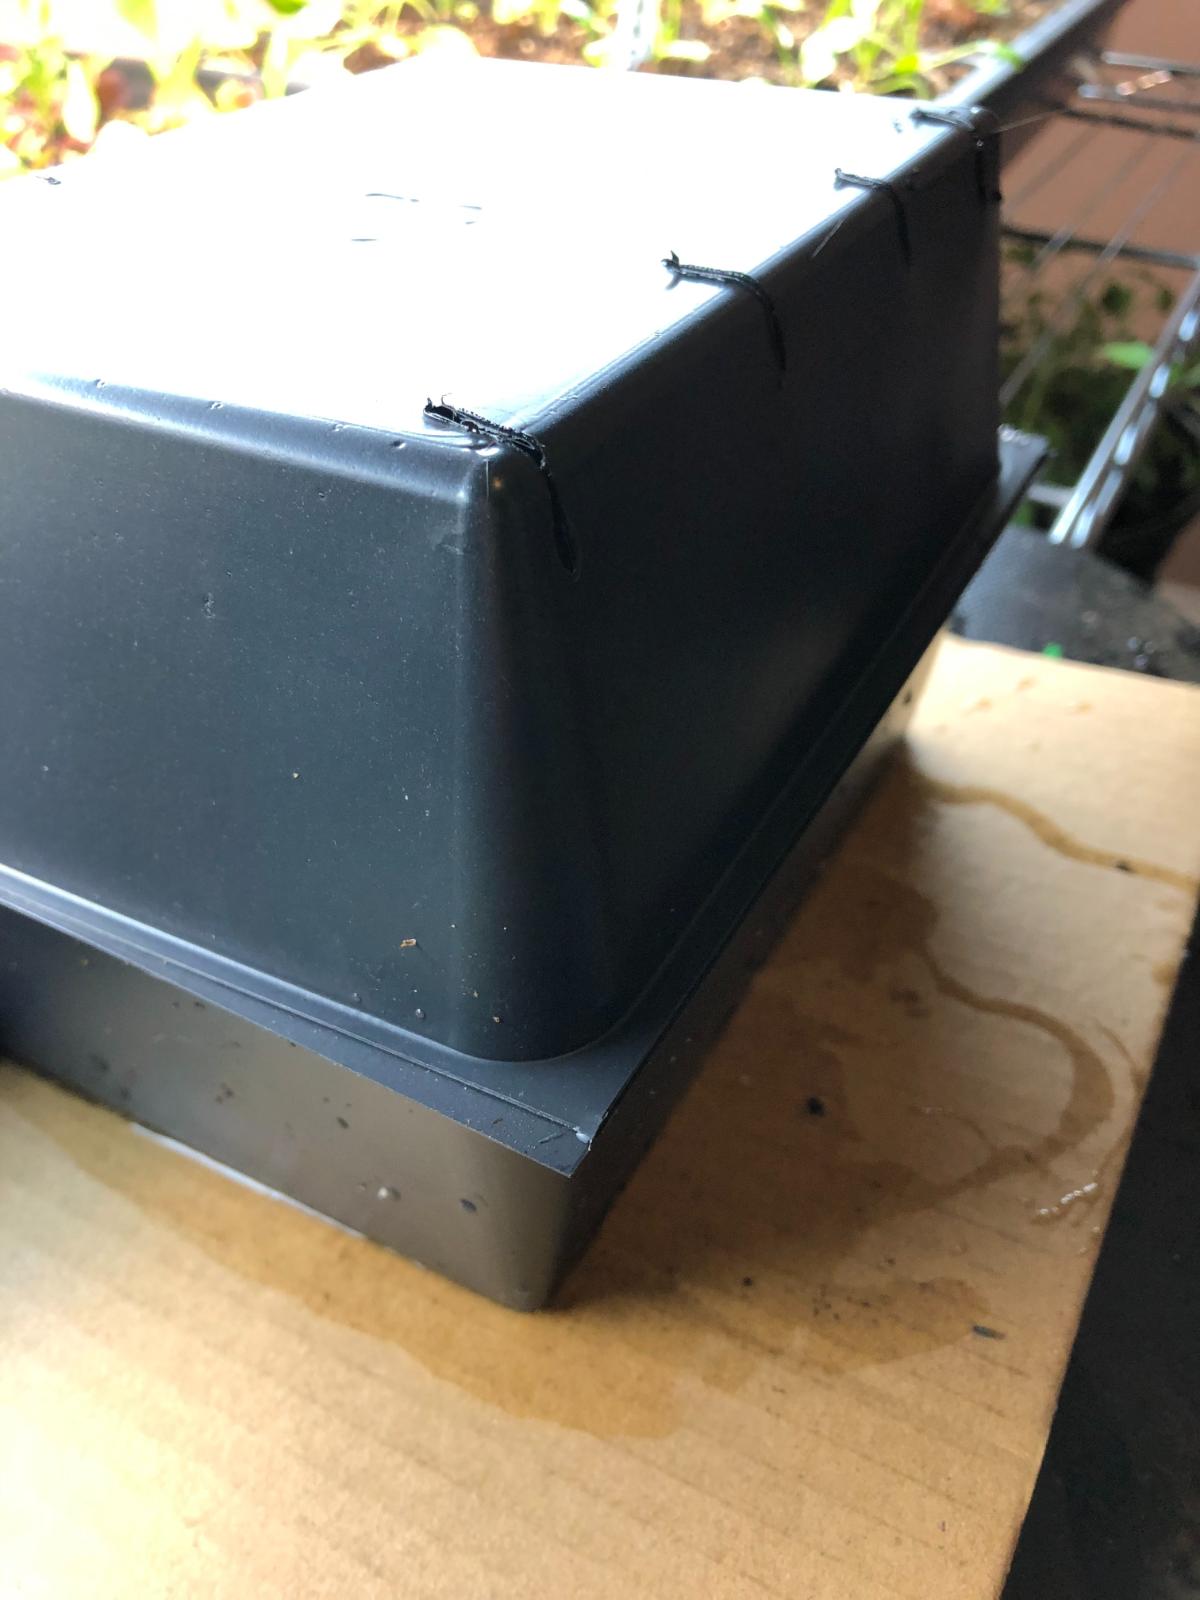
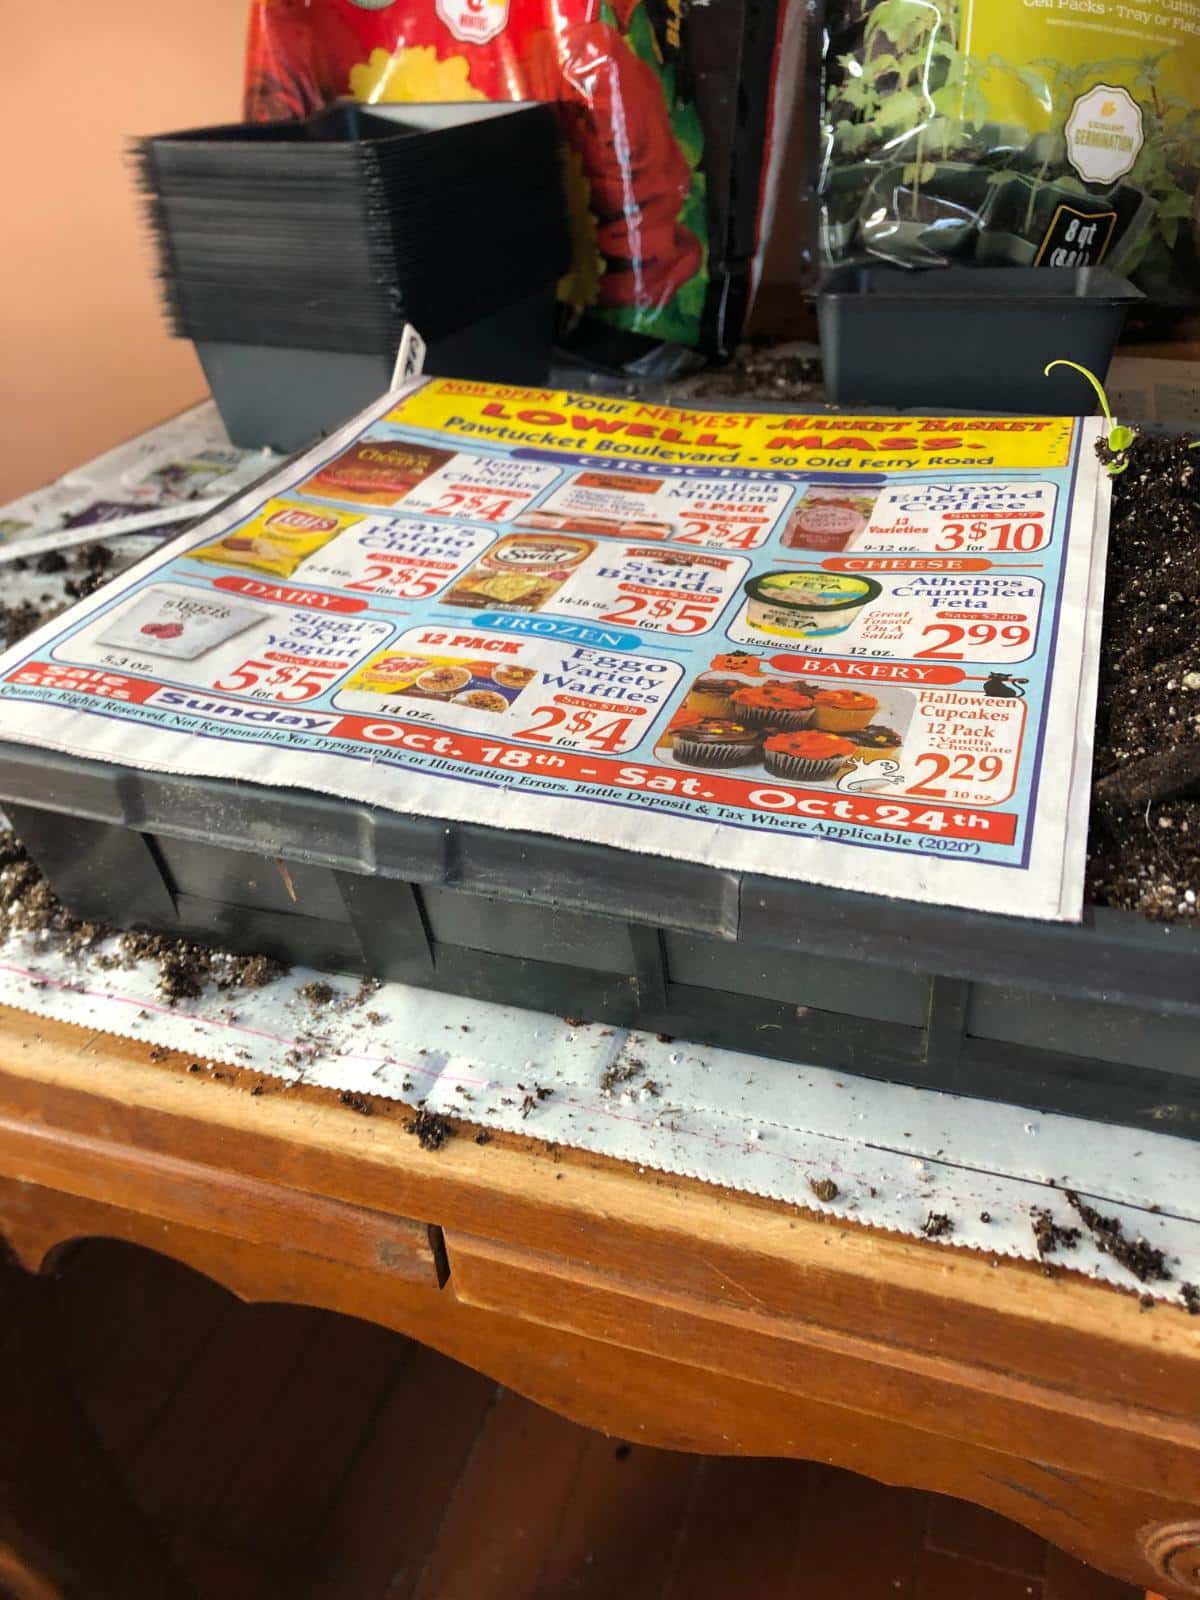
9. To prevent drying out, you can cover the planted packs with a piece of cardboard, humidity dome, or plastic wrap.
10. Check daily for signs of sprouting.
11. Check moisture levels daily and water when the soil begins to dry out, keeping in mind that the seeds and young roots will be very close to the top, and it is important to maintain moisture there. Do not overwater. Bottom watering is recommended throughout.
12. A heat mat will help maintain the soil at the proper temperature for germination and will ensure warm conditions for germinating seeds. Remove from the mat when seeds have sprouted.
13. Move packs under grow lights when seedlings emerge.
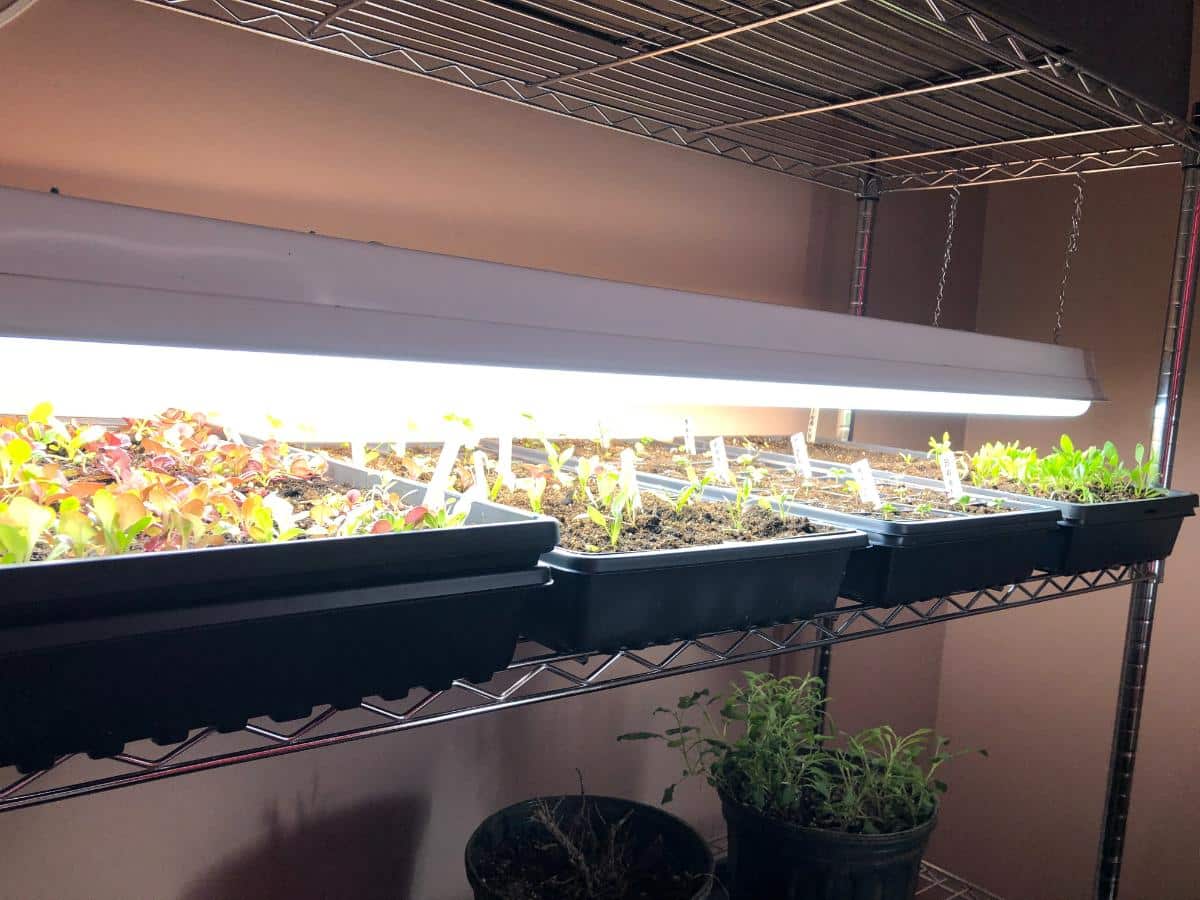
13. After one to two weeks, when the tomatoes have at least one (preferably two) sets of true leaves, thin the packs so that there is only one plant growing in each pot or pack. Do not skip this step or the seedlings will grow into each other, starve each other, and have problems.
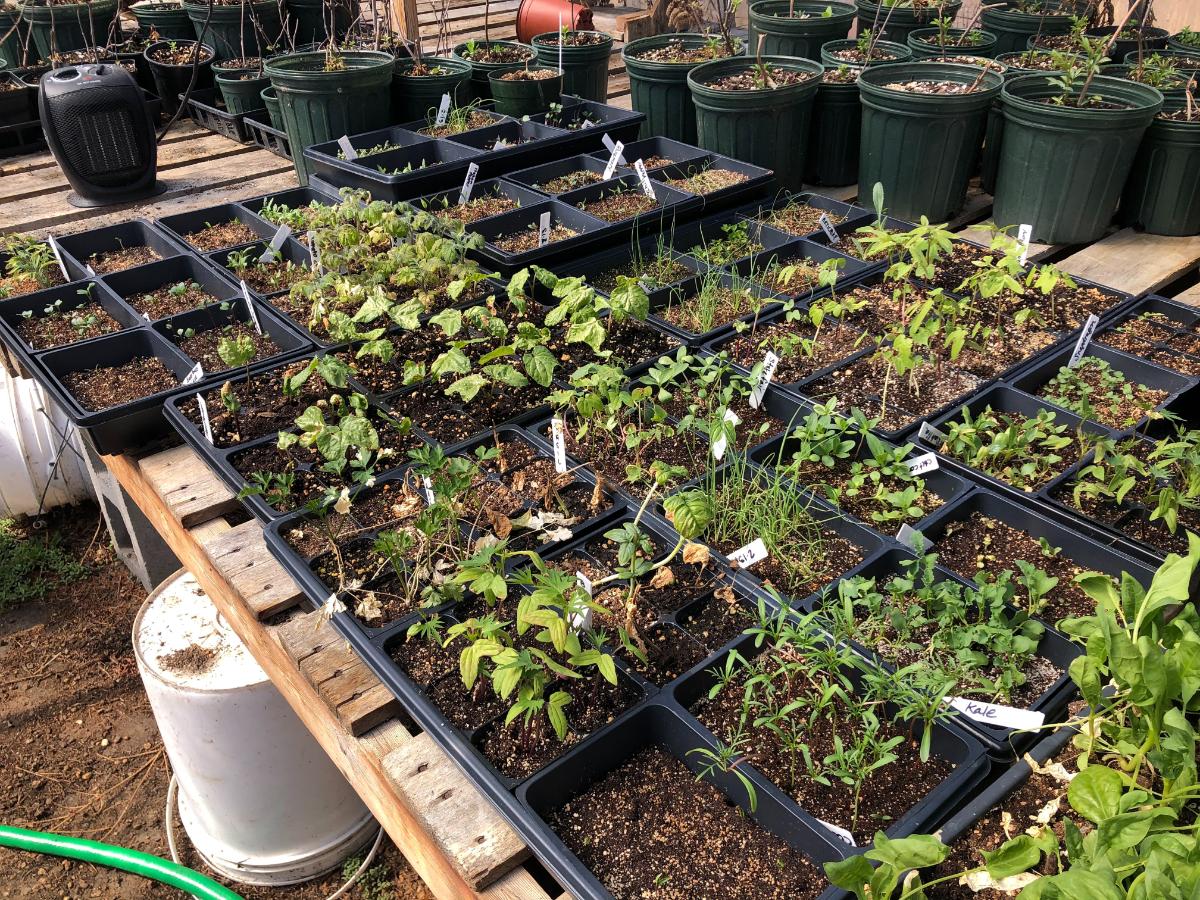
14. Continue to monitor and water regularly when the top of the soil begins to dry out.
15. Harden off seedlings before planting them outside.
Advantages and Disadvantages of Starting Tomatoes in Individual Cells or Pots
- Tomato seedlings will not need to be potted up
- May require more seeds because, ideally, you should plant two seeds per pot
- Wastes good germinated seedlings because one needs to be pinched off and killed so that there is only one plant per pot/cell.
- Moisture can be a problem when seeds are starting, and seedlings are very small because the cells will hold more water than what the seedling is demanding
- Sometimes results in increased instances of seeds rotting, overwatering, fungal disease, and overwatered seedlings
- See this article for an explanation of why this happens: There’s a Real Reason We Re-Pot and Pot Up Plants in Stages
- You may end up with empty cells or pots where seeds don’t germinate
- Spends more time and money on materials for seeds that aren’t viable and don’t germinate
- More wasted potting soil
- Potting soil can impede seed germination because it has little opportunity to correct problems like legginess (unless you repot or pot up again, which defeats the purpose of using this more direct method)
- Fewer steps to establishing seedlings
- Overall lower rate of success
- Need to overplant more pots to accommodate for failures
- Takes up more space during germination and more space during growing because you’ll be planting more
Transplanting Tomatoes Starts into the Garden
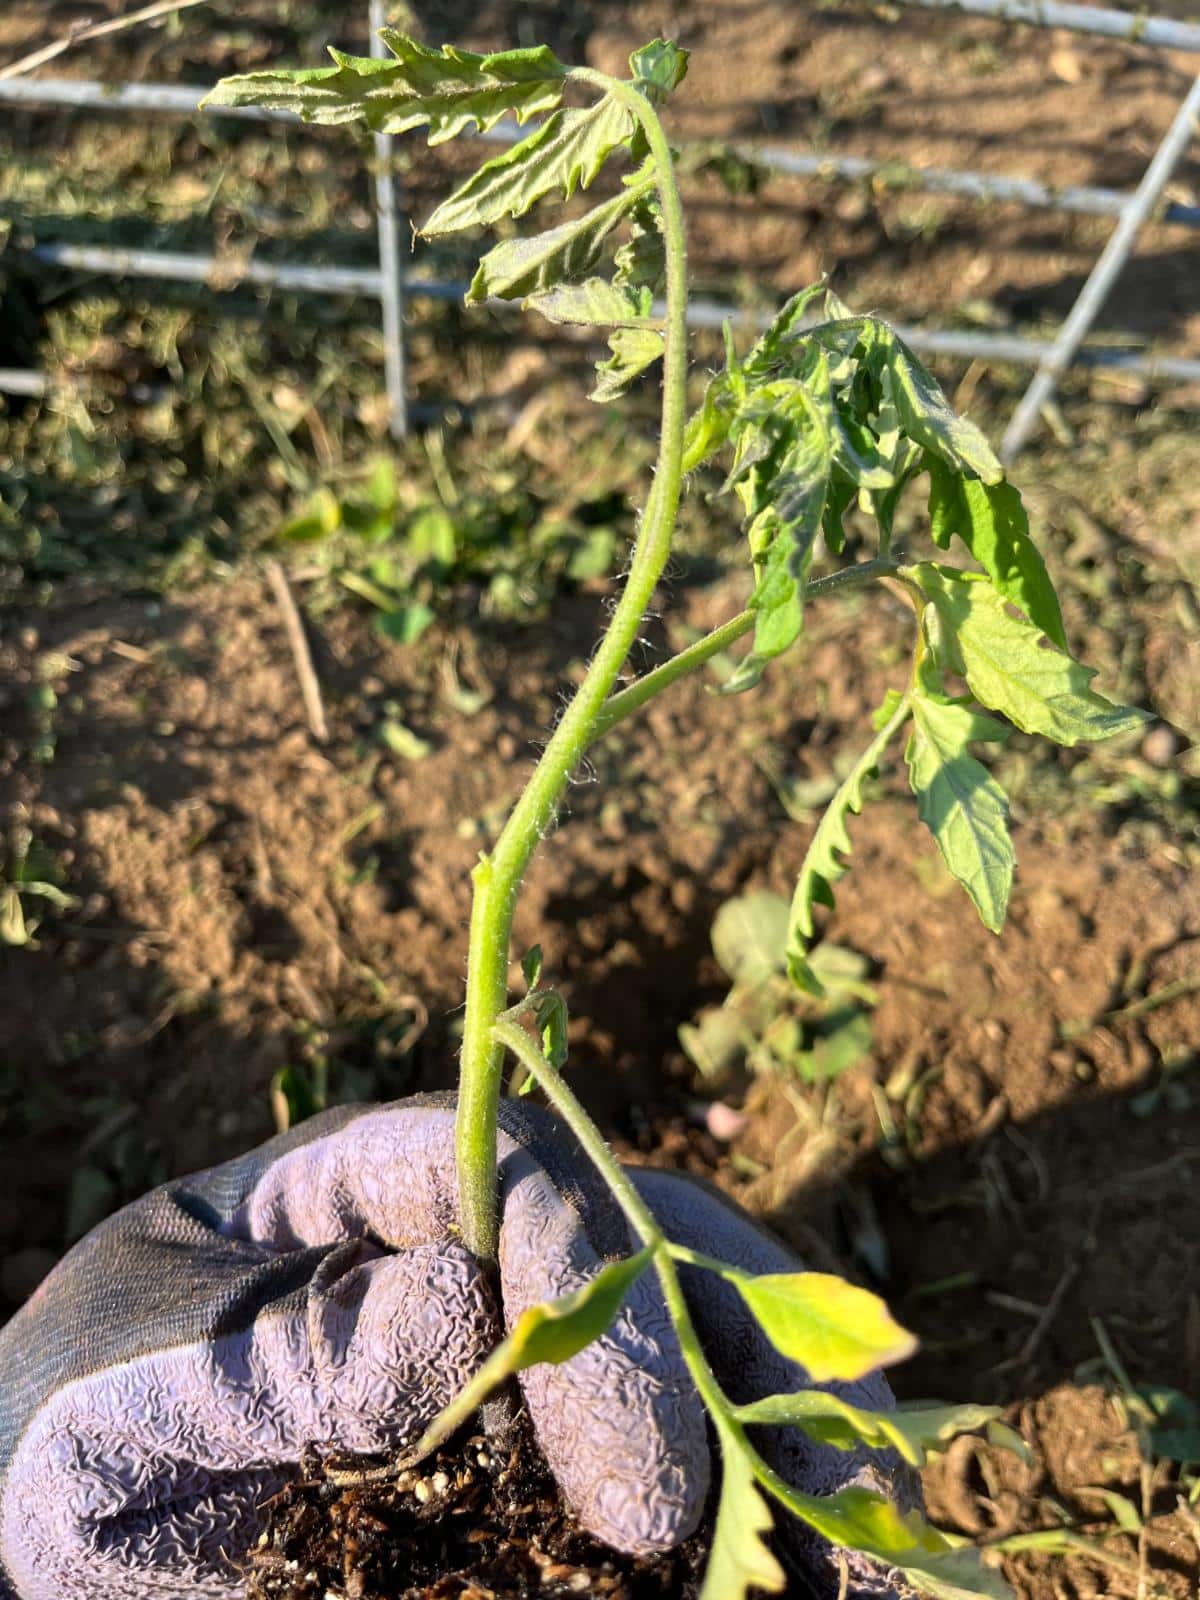
Plant tomato transplants outside after your last frost date and after all danger of frost has passed. Frost, even late in the season, will kill tomato seedlings.
It is important to harden seedlings off before you plant them outside, as mentioned above. Hardening acclimates the small tomato plants, which have been protected from temperature fluctuations, wind, sun, and severe weather. It strengthens them so that they are able to withstand the more variable and stronger forces of weather and nature that they will endure outside.
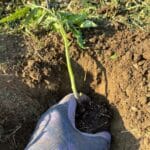
Plant tomato transplants into good soil that has been prepared ahead of time. Plant them at least up to and over the level of the soil in the cell pack. Deeper planting can help establish better roots and overcome slight issues of legginess if there is any.
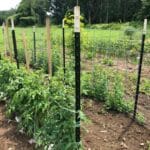
Most tomatoes will need support of some kind once they are in the garden or growing containers (cages, staking, weave support systems, or trellising). It is best to install this at the time of planting so that you don’t disturb the roots and cause damage to large roots later on.
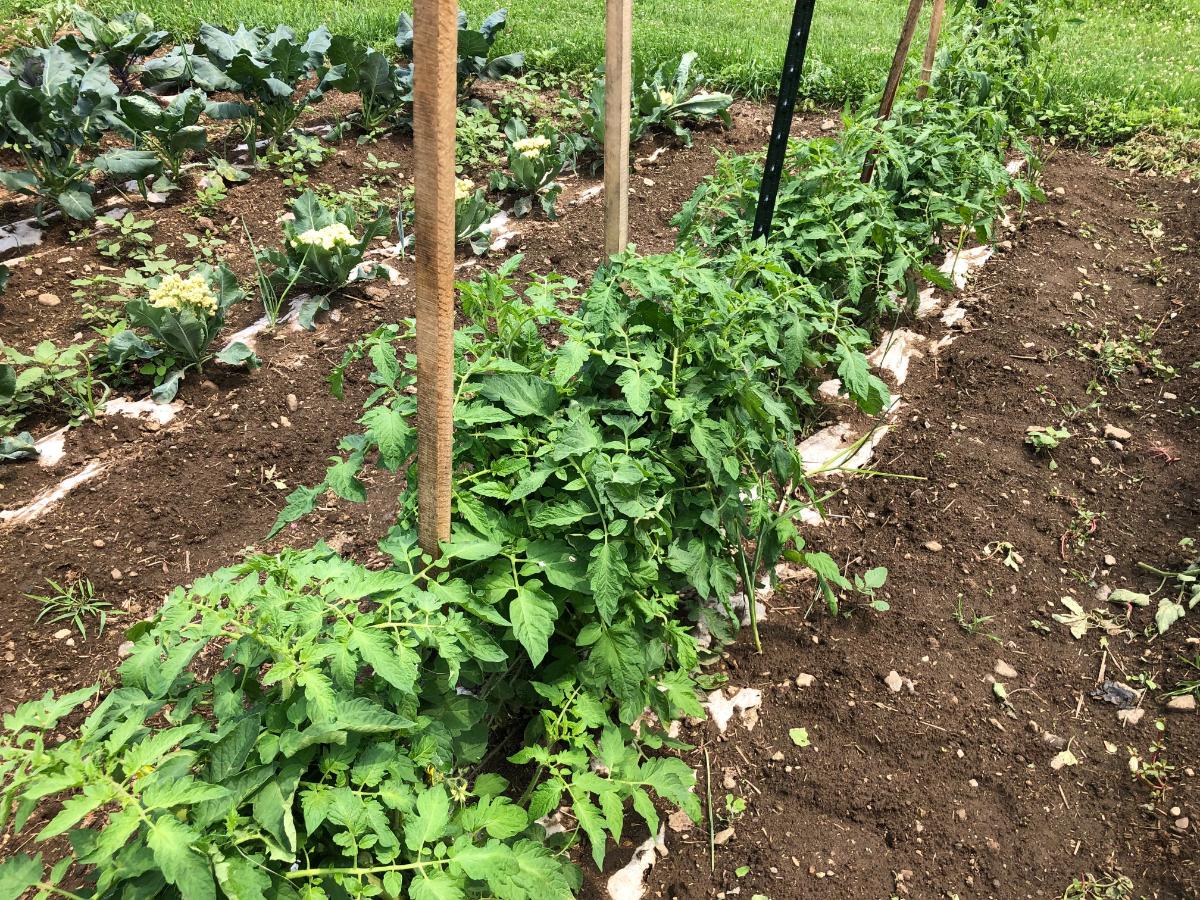
Starting tomatoes from seed is an enjoyable task. These two methods solve a lot of problems that people have when starting tomatoes from seed.
Being able to grow your own tomatoes from seed opens up a world of possibilities and gives you a much wider range of more delicious, more nutritious tomatoes than what you will ever find on a grocery store shelf.
